


WORK
Kitchen
YEAR
2025
INGLEWOOD
INGLEWOOD KITCHEN RENOVATION
Kitchen renovation in Inglewood, Calgary
Project Overview
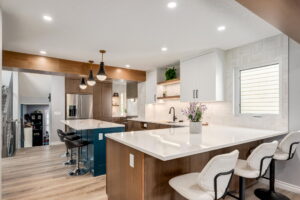
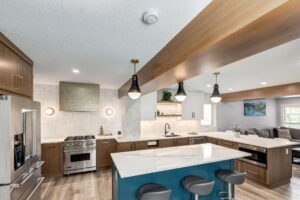
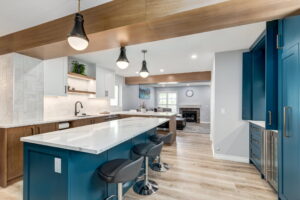
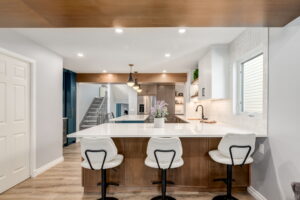
This Inglewood kitchen renovation turned a 1994 closed-in U-shaped kitchen and a separate dining room into one open, hard-working kitchen. We removed the wall between the two rooms and carried the load on a new LVL beam. The new space holds a full-size island, a relocated range wall and a tall pantry wall. Both beams are wrapped in white oak veneer to match the cabinetry, so the structure reads as a design feature.
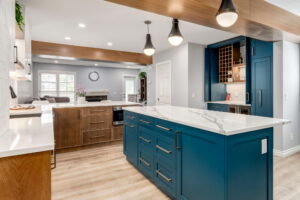
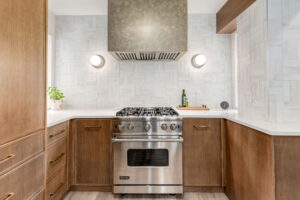
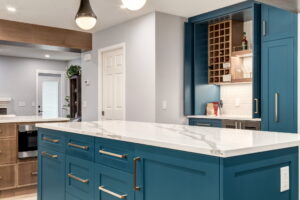
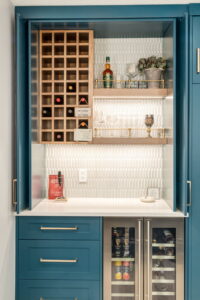
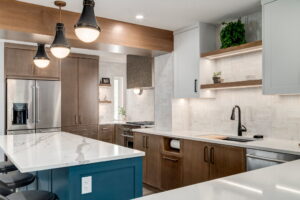
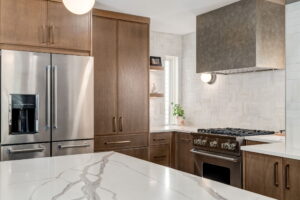
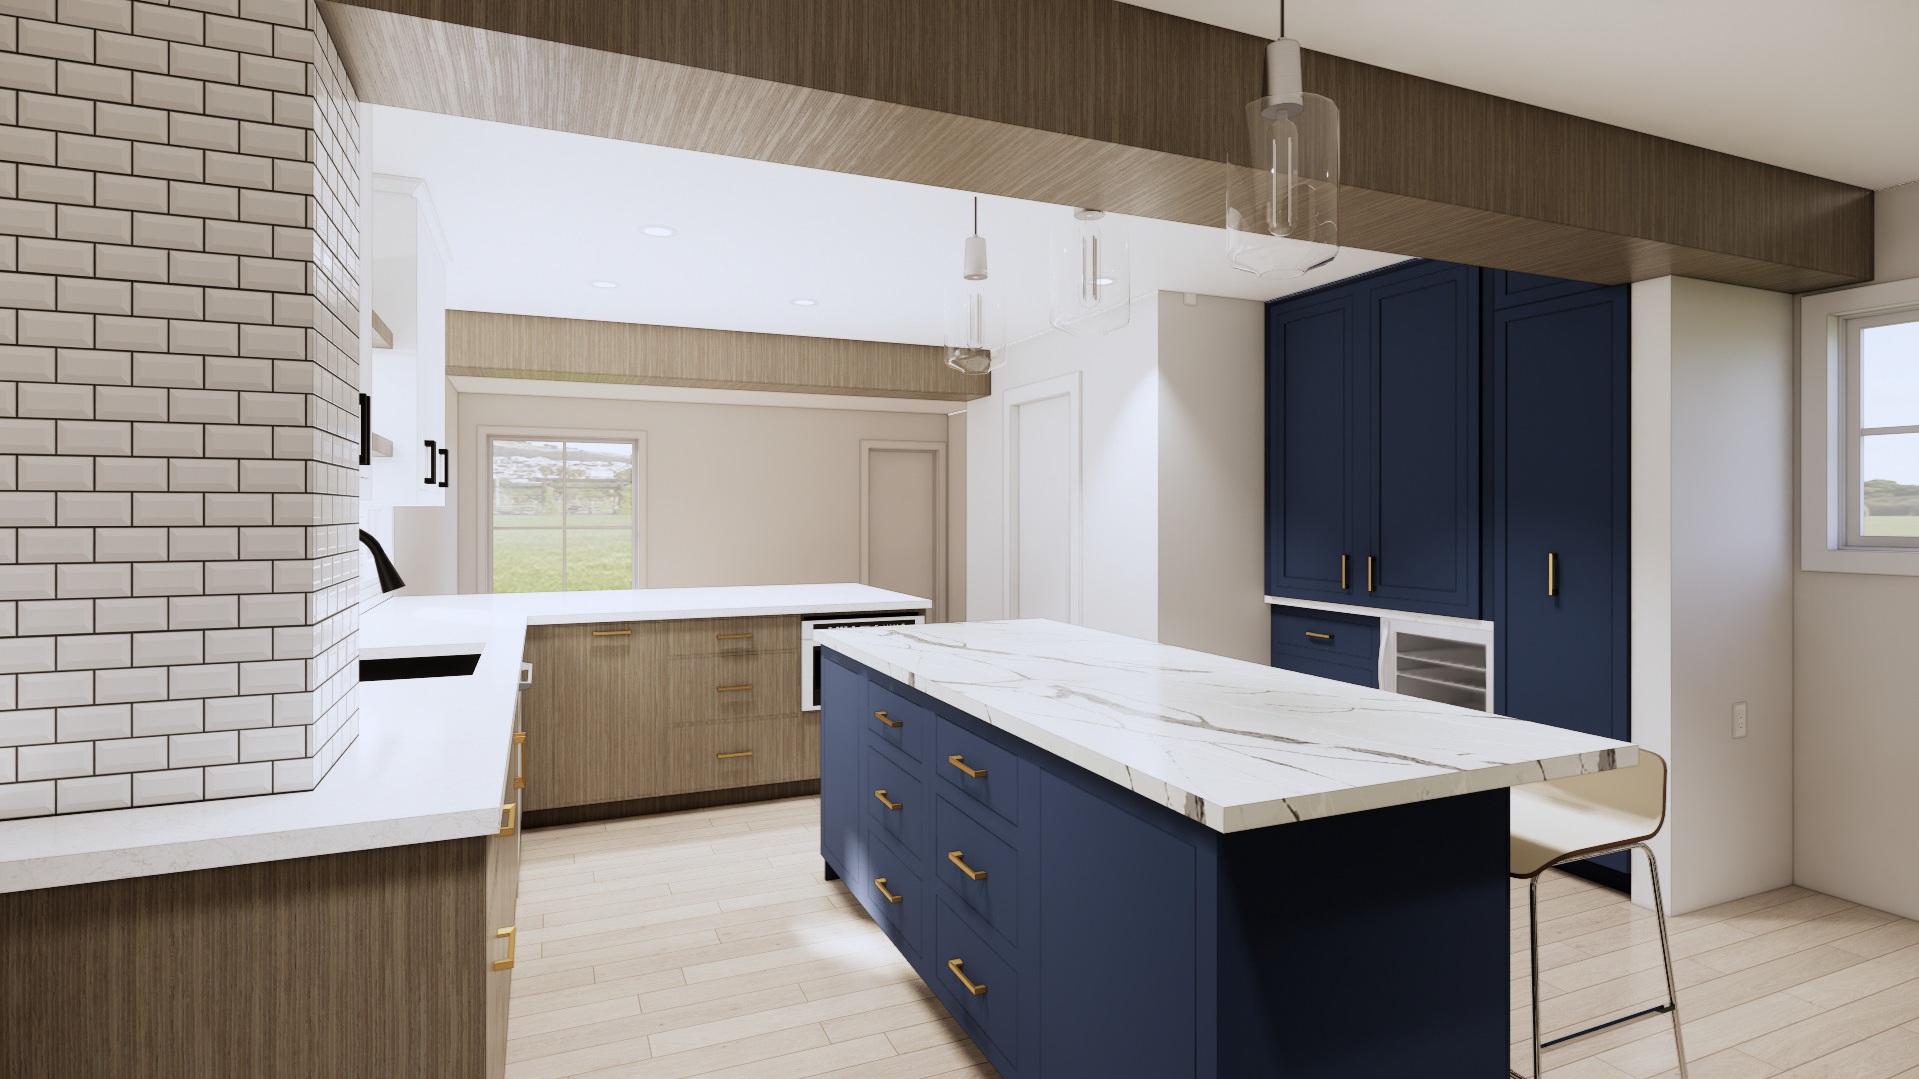
The finishes mix three cabinet colours: rift-cut white oak lowers, soft grey uppers and a deep teal island. A custom range hood clad in gilt aluminum sits against a hand-finished basketweave tile wall that runs from counter to ceiling. Beside the island, a coffee and wine bar disappears behind pocket doors when it’s not in use. New luxury vinyl plank runs through the kitchen, living room, mudroom and stairs.
Key Features
- Wall between the kitchen and dining room removed, with a new LVL beam
- Both ceiling beams clad in white oak veneer to match the cabinets
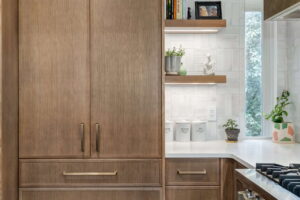
- Rift-cut white oak slim shaker lowers, Benjamin Moore Distant Gray uppers and a Sherwin-Williams Moscow Midnight island
- Custom range hood in Chemetal gilt aluminum laminate with a 42″ insert
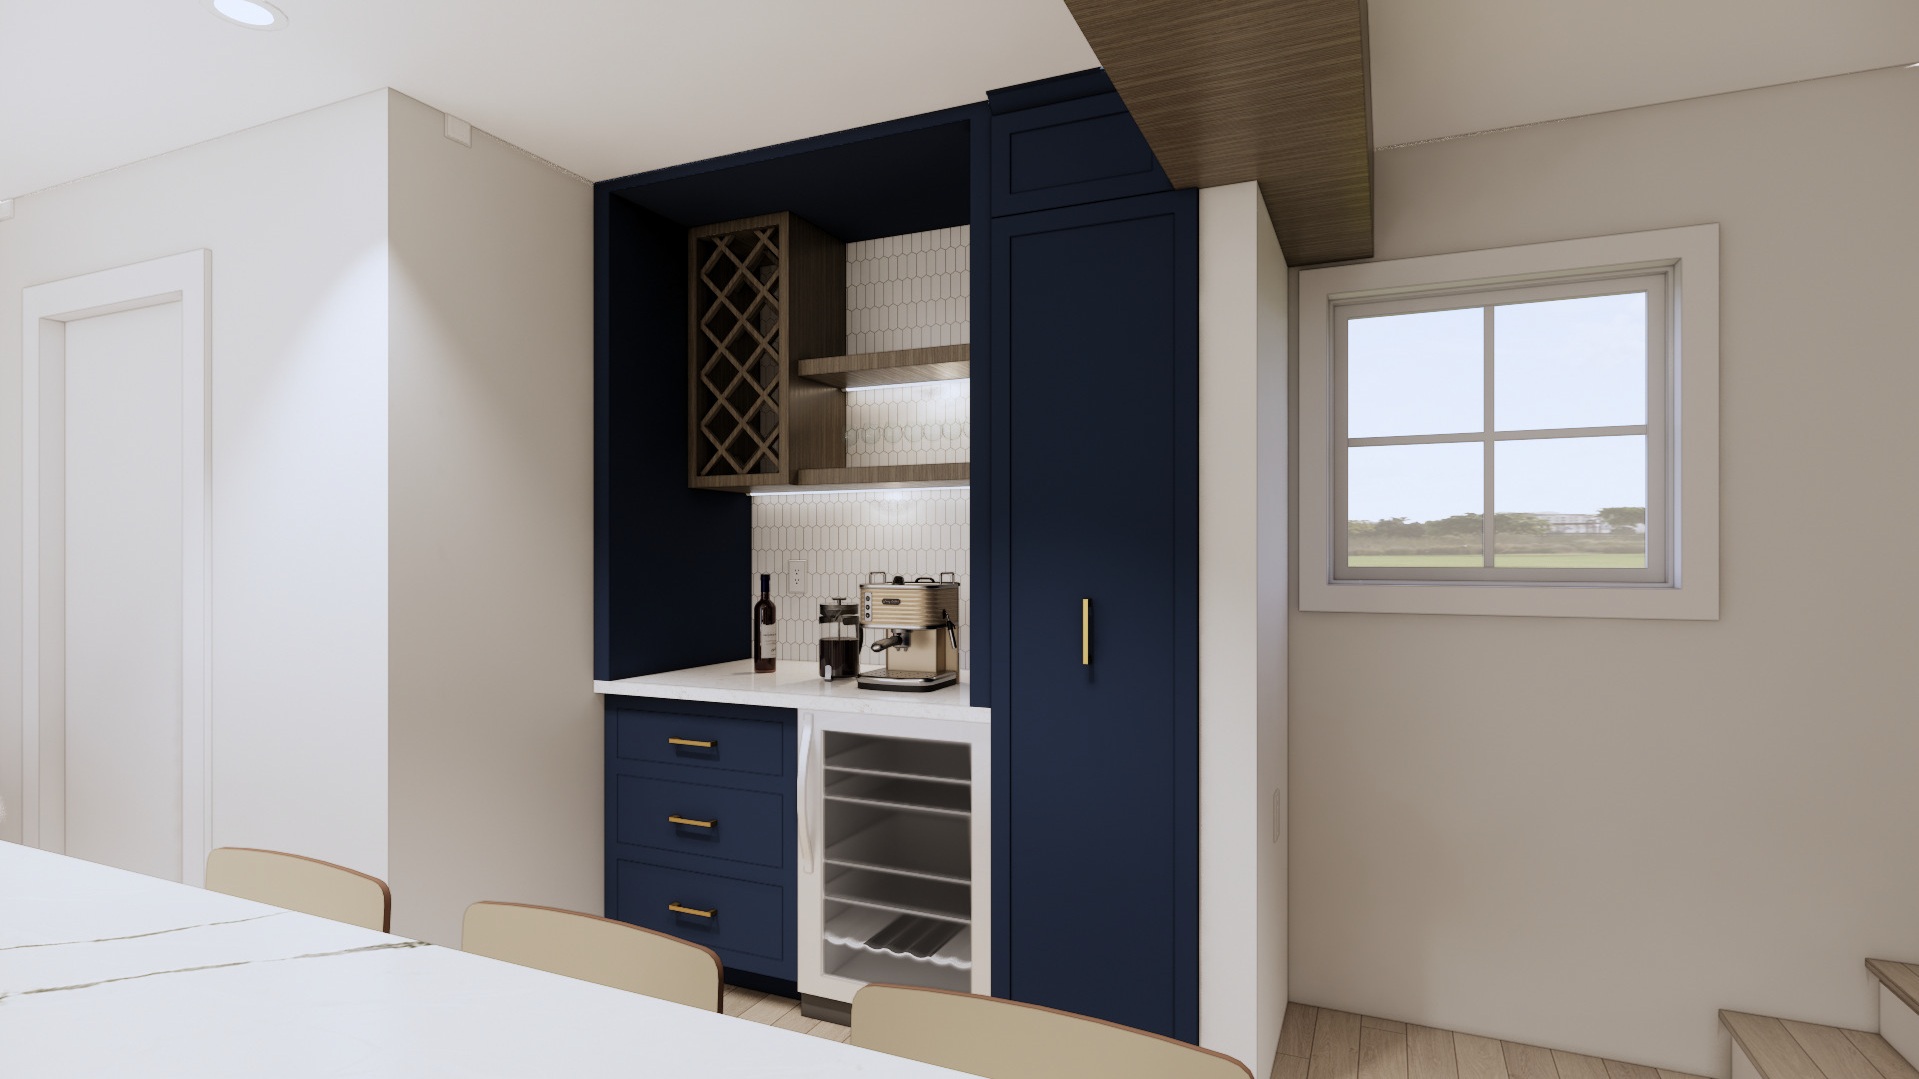
- Hidden coffee and wine bar with pocket doors, a wine rack, lit floating shelves and a beverage centre
- Island with seating for three and a quartz top with dramatic veining
- Long quartz peninsula with seating, open to the living room
- Built-in microwave drawer in the peninsula
- Workstation sink with a built-in cutting board
- Porcelain tile in a basketweave pattern from counter to ceiling, with brass and matte black hardware
- Floating oak shelves with integrated LED lighting
- Poly-B water lines replaced during construction
- New LVP flooring across the main floor and on the mudroom stairs
The Transformation
Before/After Slider
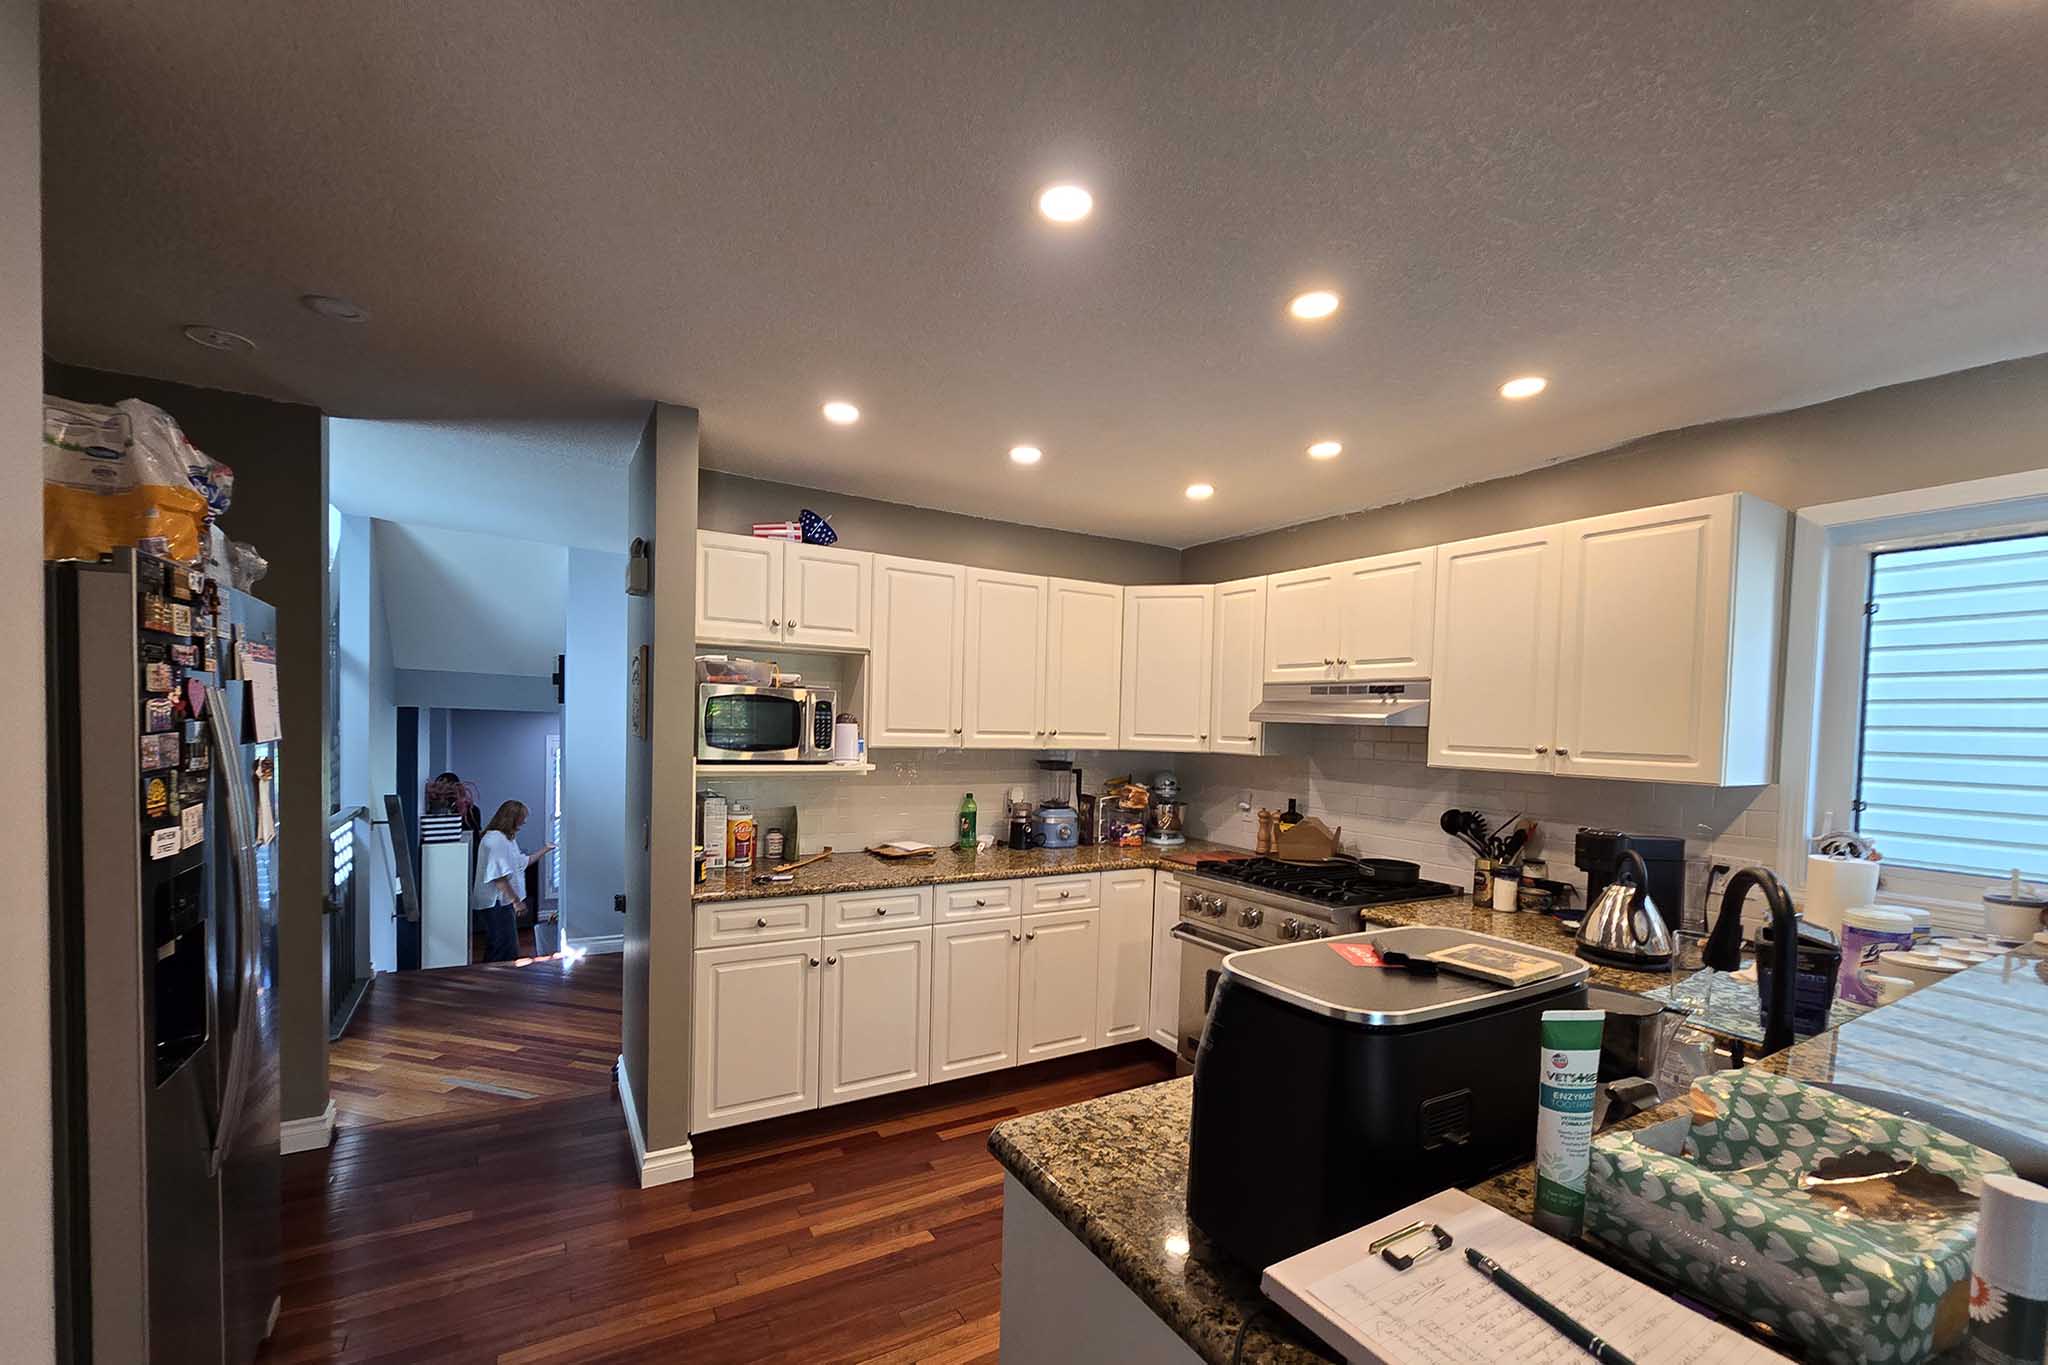

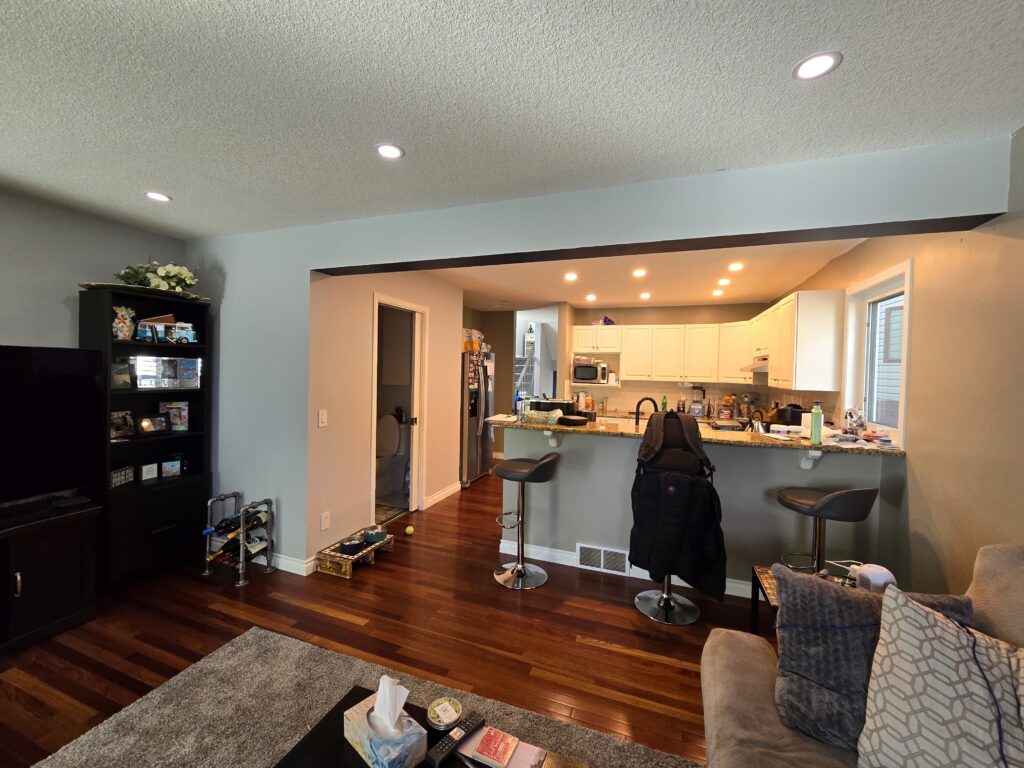
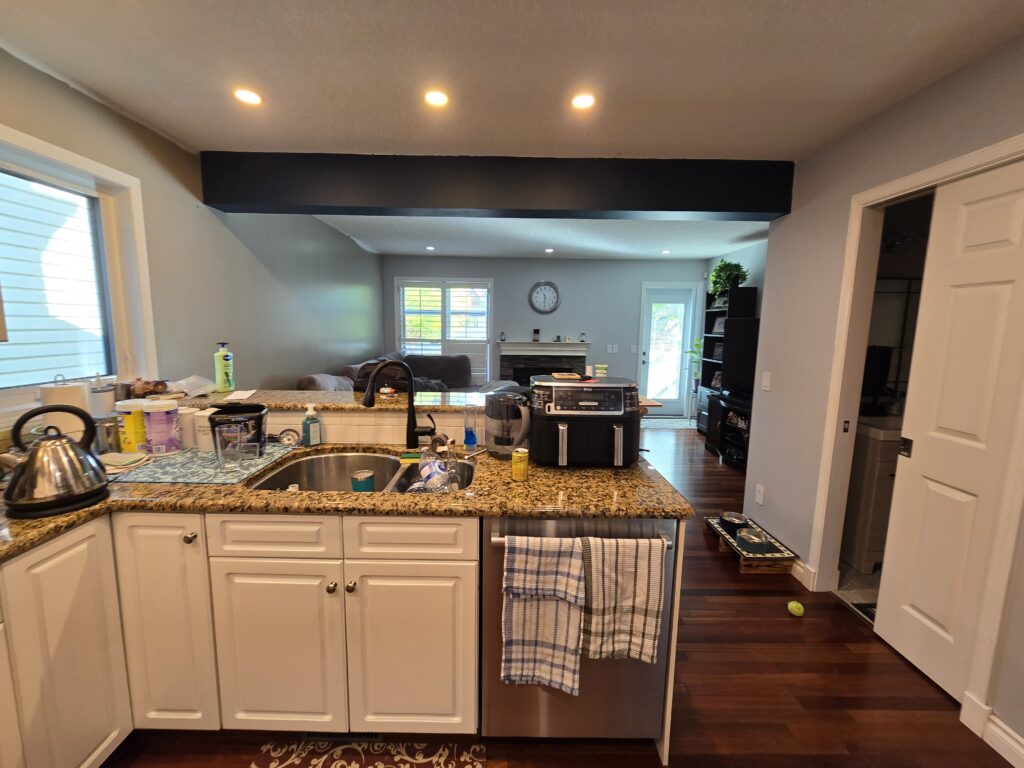
Before Photos


After Photos





Renovation Goals
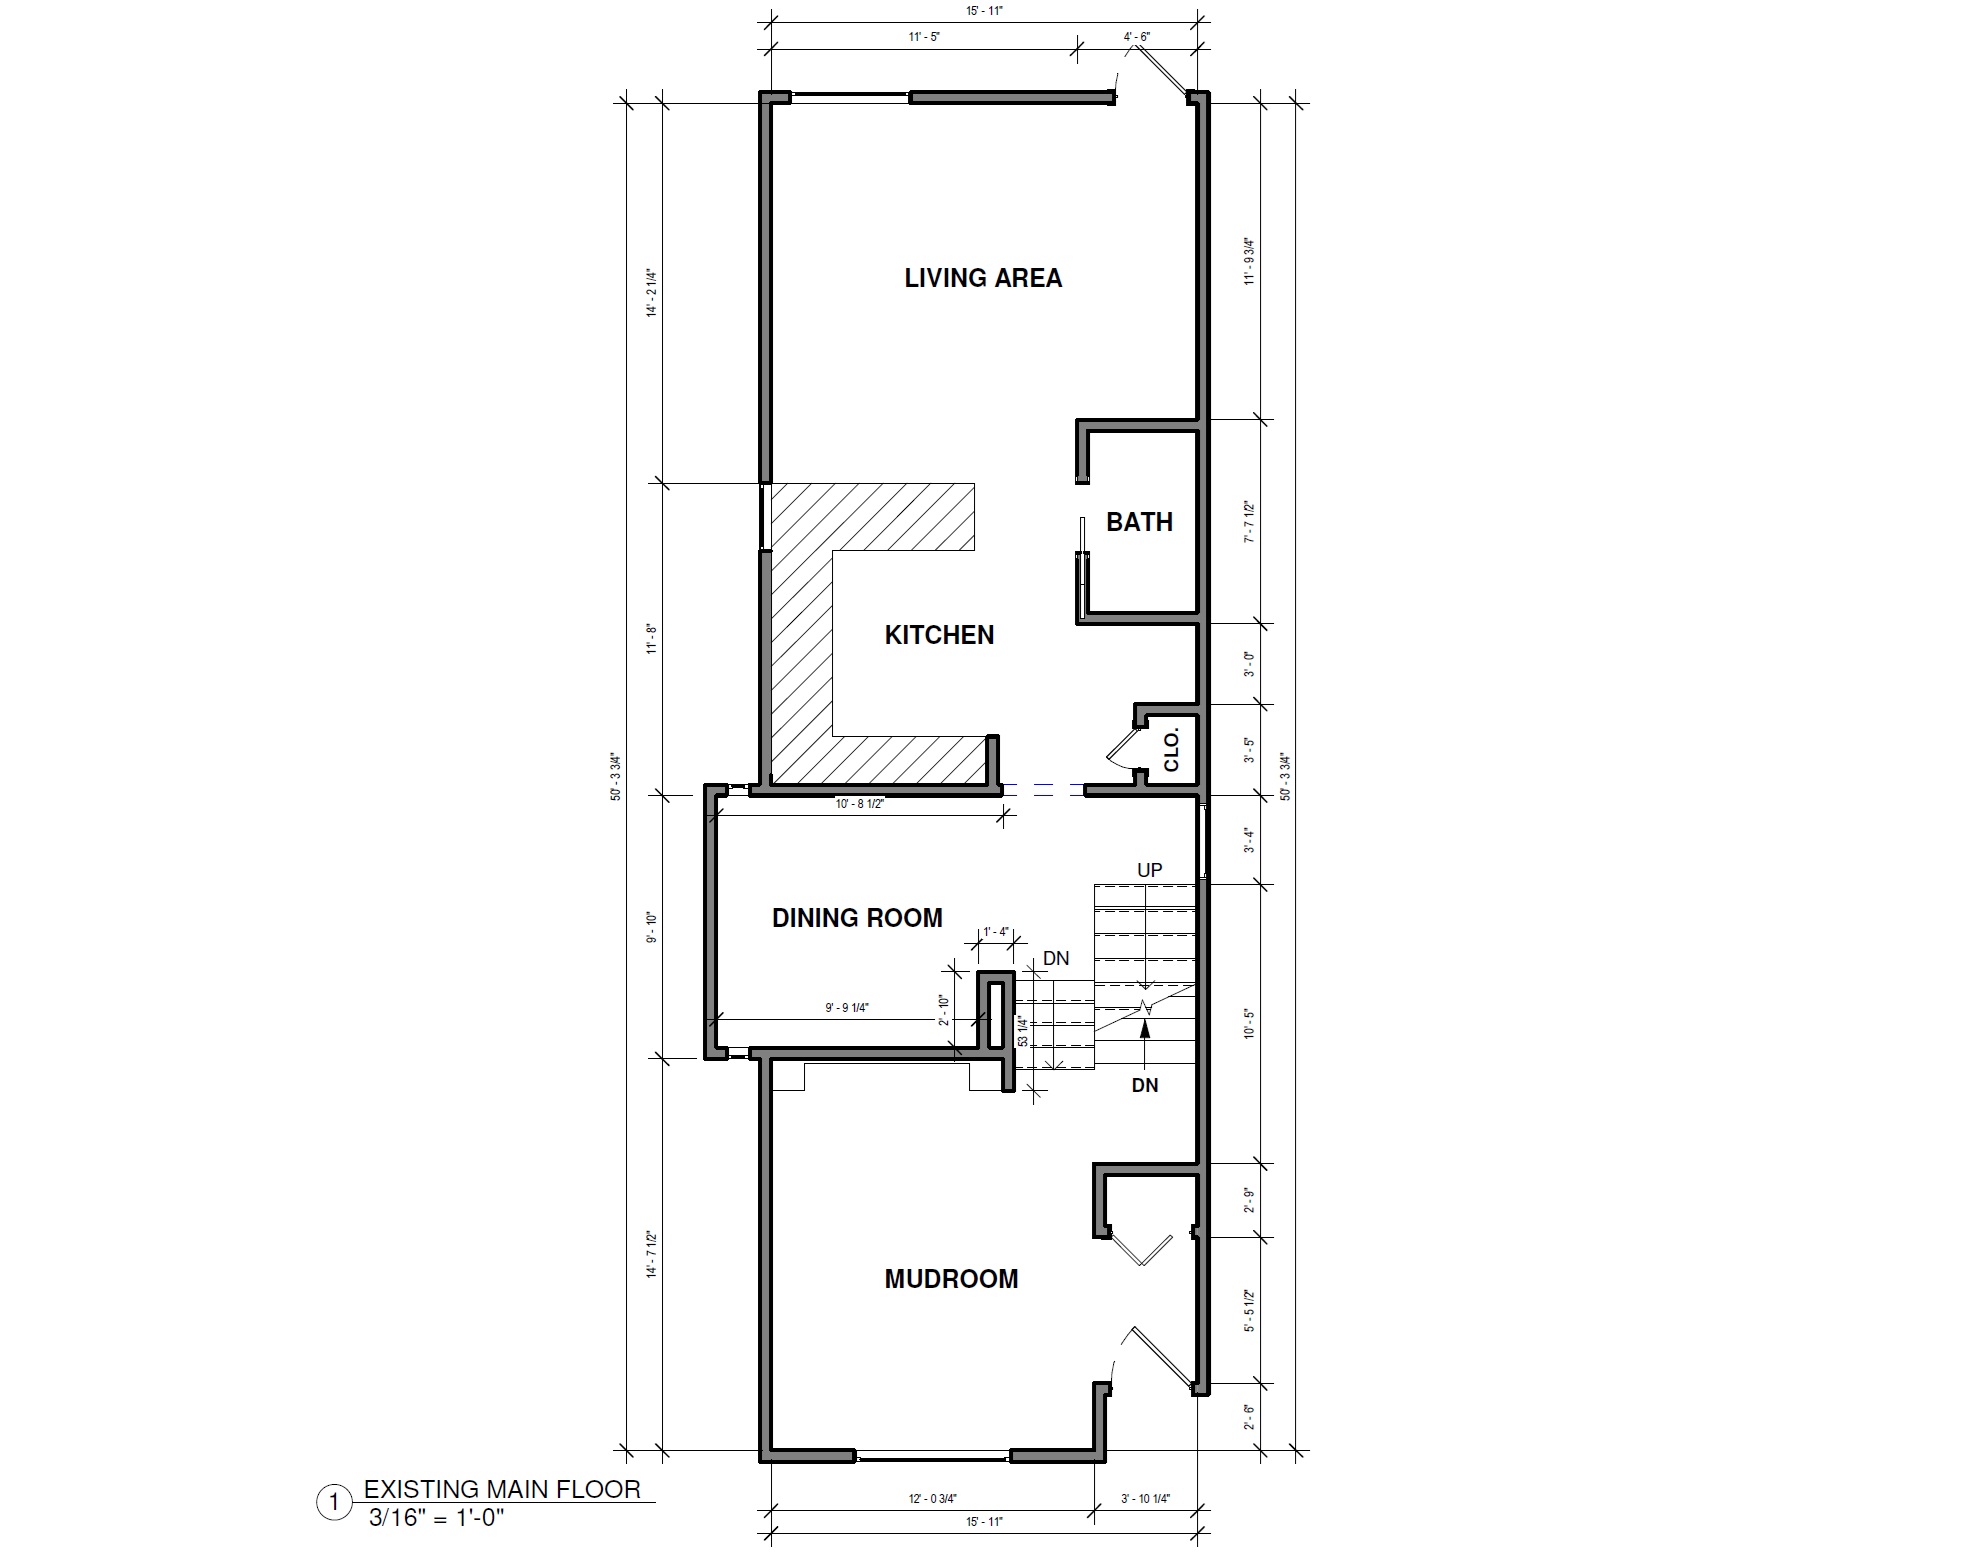
The original kitchen was a tight U-shape, cut off from the dining room by a wall and a closet. White cabinets, speckled granite and a raised bar made the room feel dated, and the layout left little prep space or storage. The homeowners wanted one open space for cooking and entertaining, with room for an island and a proper spot for coffee and wine.
- Open the kitchen to the dining area and living room
- Add an island with seating and more prep space
- Gain tall pantry storage and a dedicated coffee and wine station
- Keep and reuse their Viking range in a better location
- Replace the raised bar with a counter-height peninsula
- Replace the old Poly-B water lines while the walls were open
- Run new flooring through the main floor
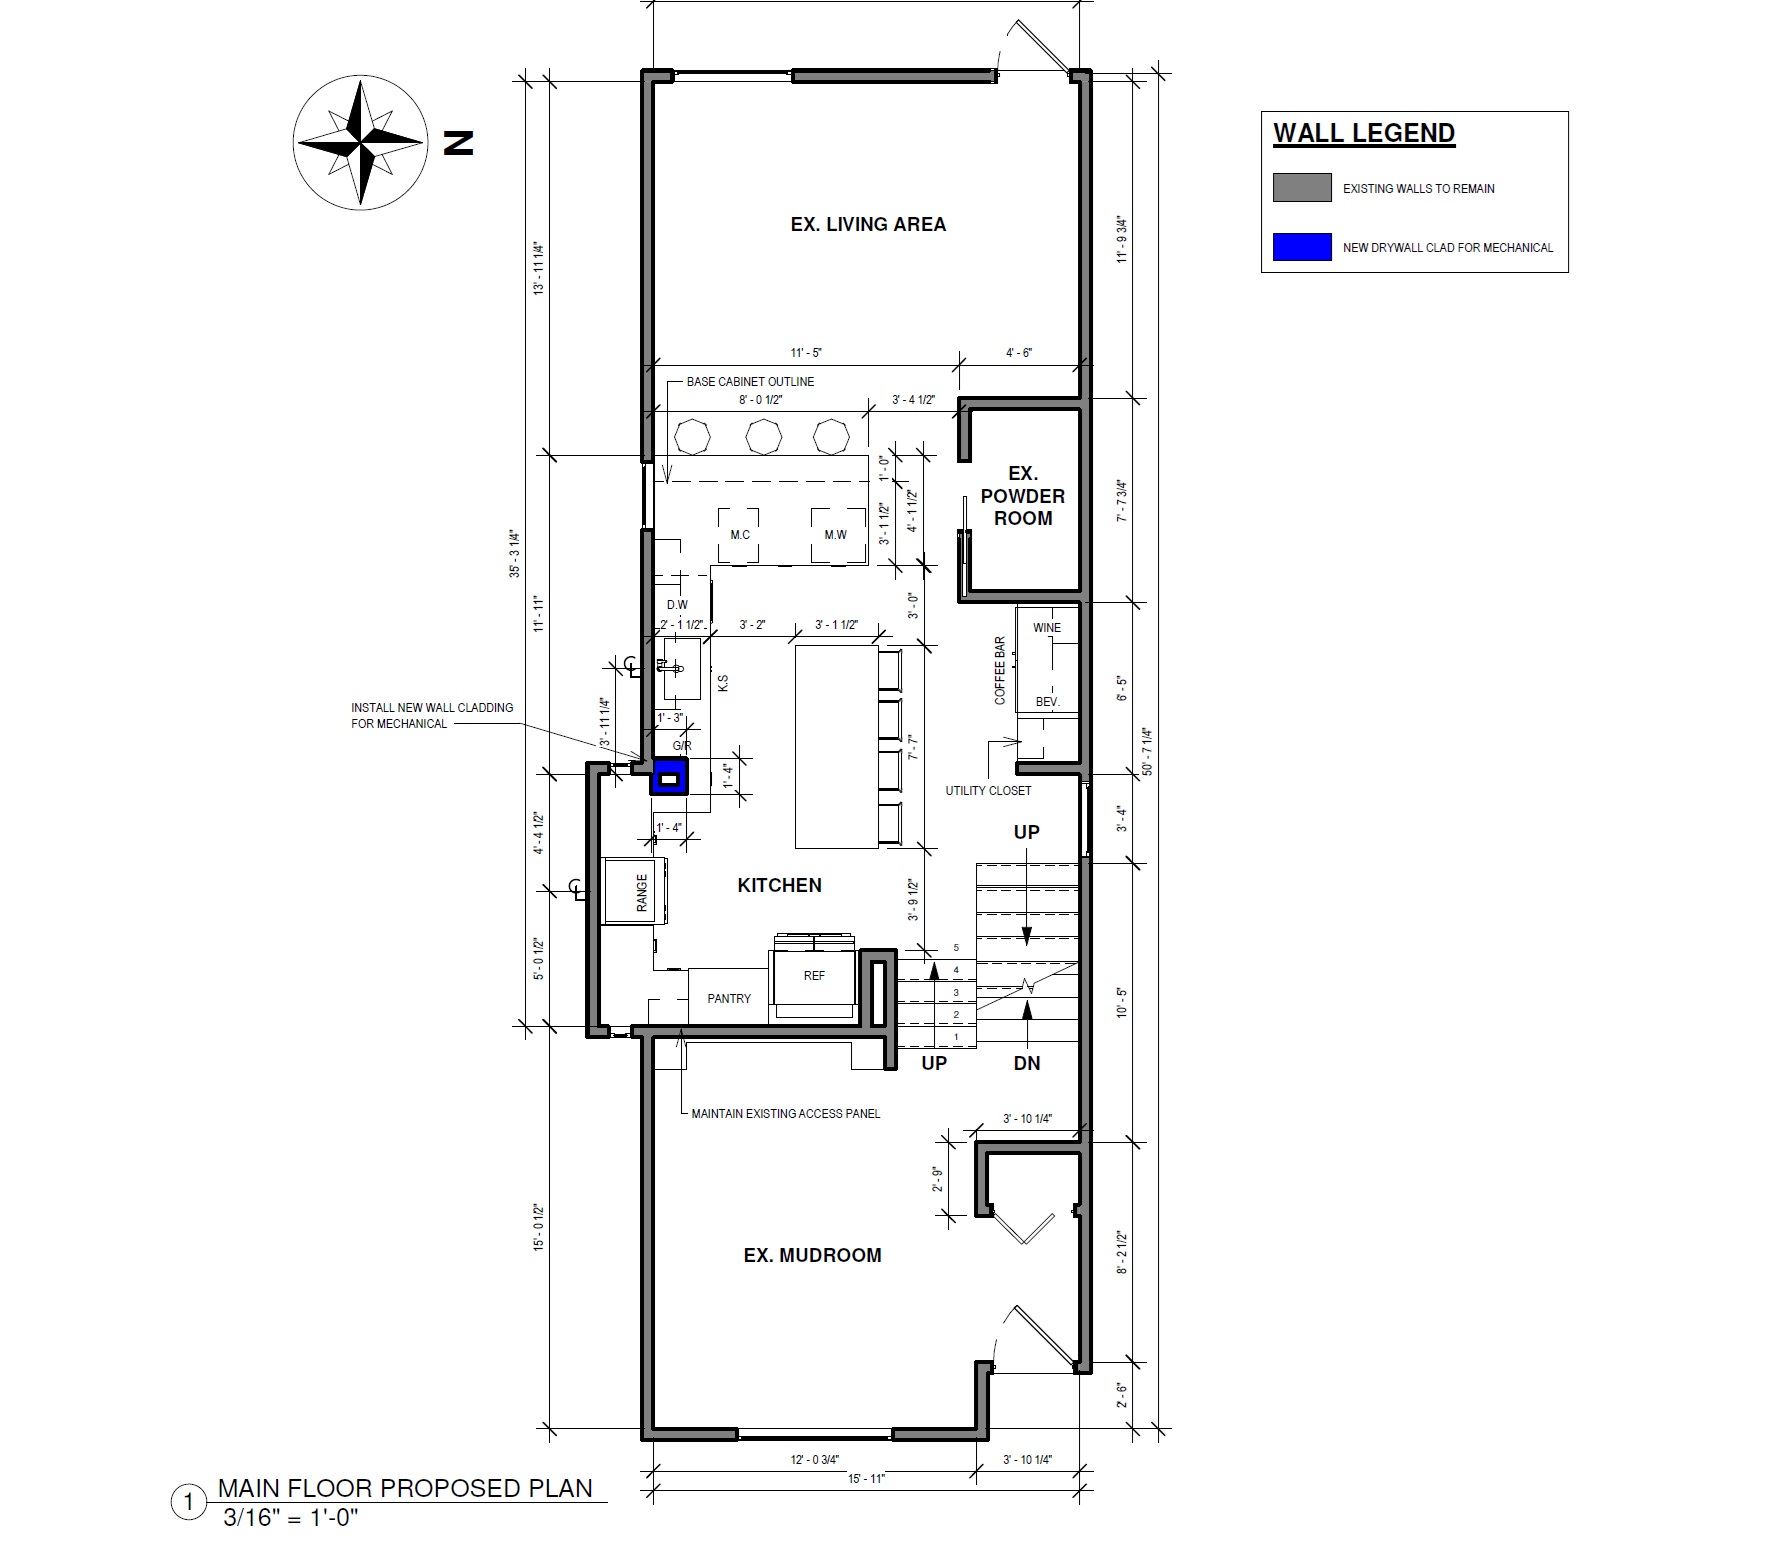
The key challenge was making room for an island in a narrow inner-city home. The solution was to remove the kitchen–dining wall, support the opening with a new LVL beam, and move the range, sink and fridge into the old dining room area. That freed up the middle of the room for the island.
Vision
Warm Wood, Deep Teal and a Little Gold
Rift-cut white oak brings warmth to the lower cabinets, and the soft grey uppers keep the sink wall bright. The teal island and coffee bar add a bold accent. The gilt aluminum hood, brass pulls and black-and-brass pendants tie the palette together, and the oak-clad beams make the new structure part of the design.
Design Phase
Creating Clarity Before Construction
- Removed the wall and closet between the kitchen and dining room
- Moved the range into the former dining room, centred on the tiled wall between two sconces
- Built a tall pantry wall around the fridge
- Placed the sink under the existing window and raised the counter above the sill height
- Added an island with seating and a peninsula with a built-in microwave drawer
- Designed a coffee bar with pocket doors, a wine rack and a beverage centre
- Included a magic corner, a garbage and recycling pullout, and spice and utensil pullouts
BEFORE & AFTER FLOOR PLANS
The original main floor separated a U-shaped kitchen from the dining room with a wall and a closet, so the kitchen felt cramped and closed off. The new plan removes that wall and carries the load on a new LVL beam. The range and a tall pantry wall move into the former dining area, and a central island with seating fills the middle. A counter-height peninsula opens the kitchen to the living room, and a hidden coffee bar sits where the closet used to be.
Old Floor Plan
New Floor Plan
3D RENDERINGS
3D renderings let the homeowners see the open layout, the oak-clad beams, the island and the hidden coffee bar before construction started. Seeing the space in 3D helped them confirm the layout, cabinet colours and finishes with confidence. That clarity supported accurate pricing and kept decisions to a minimum during the build.
Kitchen 3D
Coffee Bar 3D Render
Construction Phase
Bringing the Design to Life
Construction started on January 13, 2025, and finished on April 11, 2025, about 13 weeks from demolition to final walkthrough. Our team removed the kitchen–dining wall, installed the new LVL beam, and wrapped both beams in oak veneer. We opened the floor to move the sink drain, water lines and gas line, rerouted the hood fan venting and moved the return air into the island toe kick. While the walls were open, we replaced the home’s Poly-B water lines to the bathrooms, laundry and mechanical room. New electrical included pot lights, under-cabinet lighting, dimmers and a 20 amp outlet with automatic shutoff for the coffee bar. The ceiling got a new knockdown texture, and LVP flooring finished the main floor.
Project Facts
| Neighbourhood | Inglewood, SE Calgary |
| Home built | 1994 |
| Scope | Kitchen, coffee bar, main floor flooring, Poly-B replacement |
| Timeline | January 13 – April 11, 2025 (about 13 weeks) |
| Highlights | Wall removed with new LVL beam, hidden coffee bar, custom gilt hood |