


WORK
Main Floor Renovation
YEAR
2023
SUNDANCE
SUNDANCE RENOVATION
Main Floor Renovation in Sundance, Calgary
Project Overview
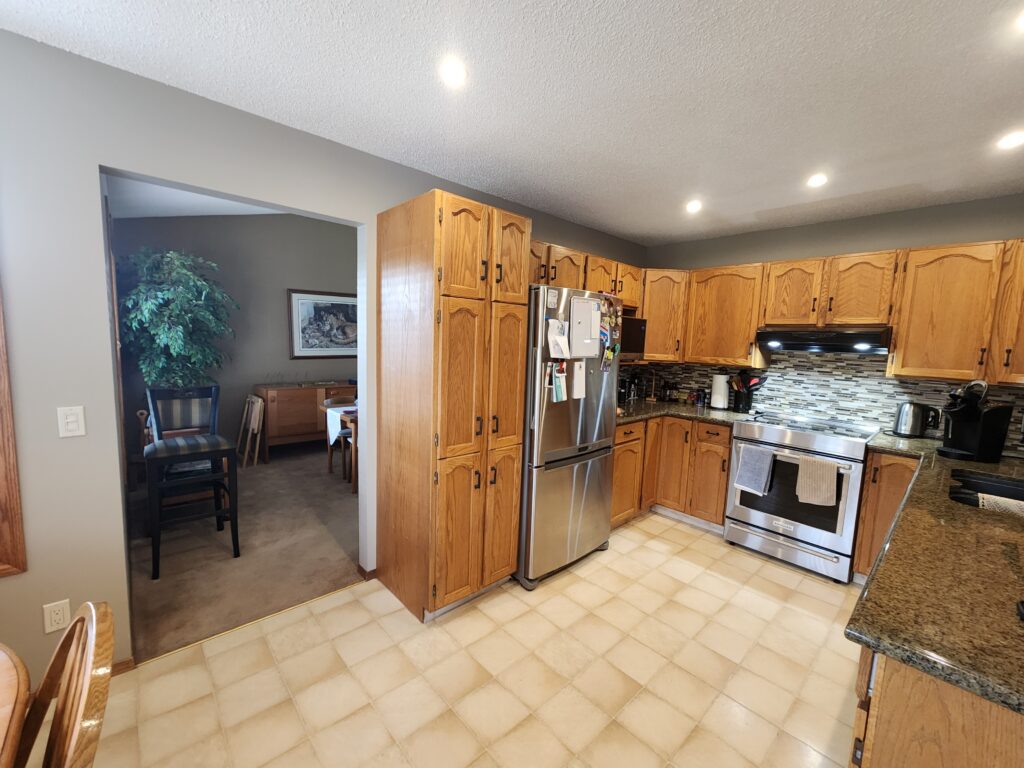
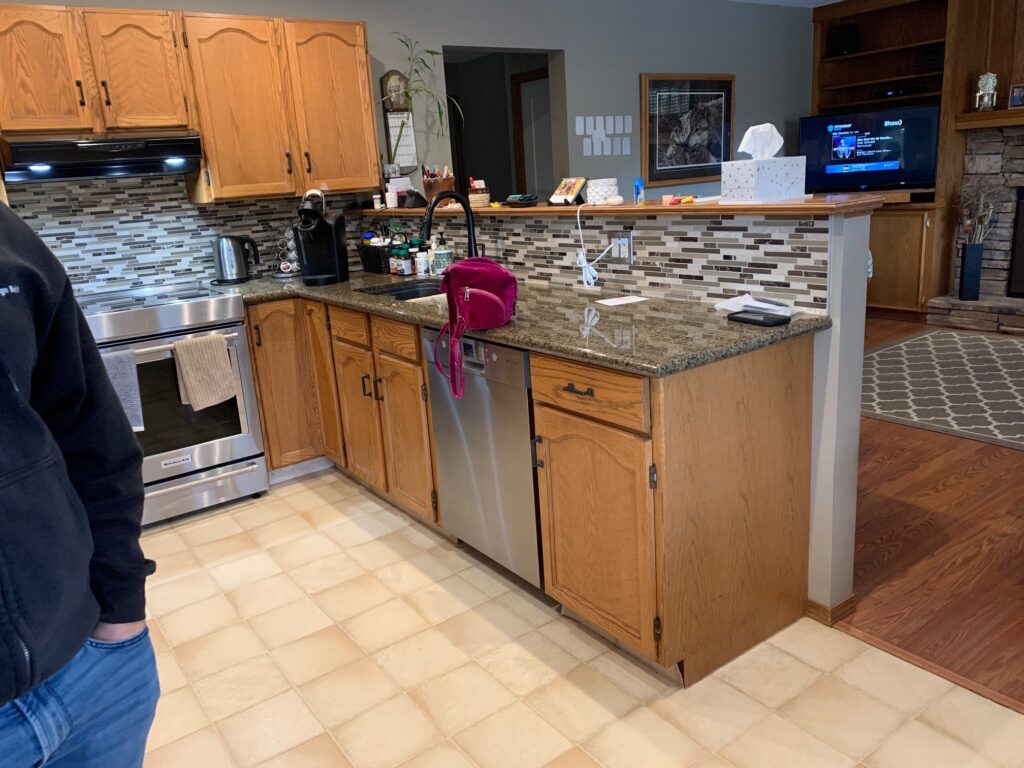
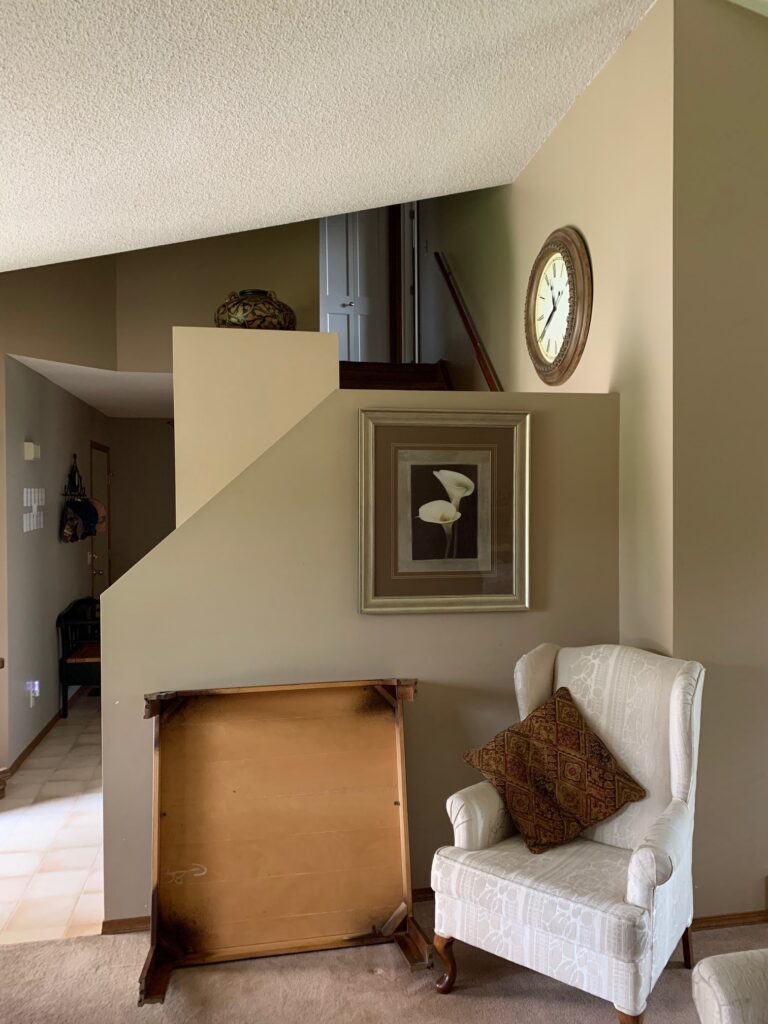
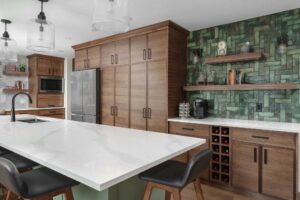
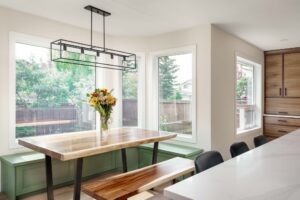
This Sundance renovation transformed the main floor of a 1990s two-storey family home in Lake Sundance. The original layout had a closed U-shaped kitchen with honey oak cabinets, a raised breakfast bar on a half wall, a separate dining room under a vaulted ceiling, beige vinyl tile and carpet, and a solid wall boxing in the staircase. We removed the wall between the kitchen and dining room and the half wall at the family room, then dropped the dining room’s vaulted ceiling to match the kitchen. The result is one larger open kitchen built around a long Avon Green island and a full wall of walnut storage, with a coffee and wine bar framed in handmade jade herringbone tile. The family room fireplace was lowered and refaced in natural stone between new glass-door walnut bookcases, the breakfast nook gained built-in bench seating, and a glass railing replaced the solid wall above the stairs. New flooring, trim, paint and a wallpapered feature wall in the living room tie the whole main floor together.
“Finding a contractor with the integrity, dependability and thoroughness of Rusch Design Build feels a little like winning the lottery.” — Homeowner, Lake Sundance
Key Features
- Wall between the kitchen and dining room removed to create a larger kitchen and a long island
- Dining room vaulted ceiling dropped to match the kitchen for one continuous ceiling line
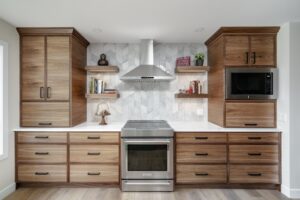
- Custom walnut cabinetry with a full-height pantry and fridge wall and pull-out pantry storage
- Long island in Benjamin Moore Avon Green with Calacatta Lux quartz and a double undermount sink
- Coffee and wine bar in Ames Amazonia Jade herringbone tile with wine cubbies, floating walnut shelves and wall sconces
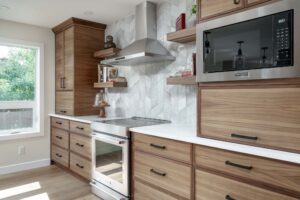
- Range wall in Fuoritono Rombo Bianco tile with a chimney hood and LED-lit floating shelves
- Built-in microwave and an appliance garage with a lift-up door
- Organized drawers throughout, including a dedicated spice drawer
- Breakfast nook with built-in Avon Green bench seating under the bay window
- Existing fireplace lowered and refaced in natural stone with a 2″ stone hearth
- Glass-door walnut bookcases with integrated lighting on each side of the fireplace
- Glass railing from the main floor to the second-floor landing, replacing a solid wall
- Wallpapered feature wall in the vaulted living room
- Powder room with a walnut vanity, shiplap wall, arched mirror and jade tile backsplash
- Popcorn ceilings scraped and re-textured throughout the main floor
- 15 new LED pot lights on dimmers, plus under-shelf lighting
- New LVP flooring, 5″ baseboards and 3″ casings across the main floor
The Transformation
Before/After Slider
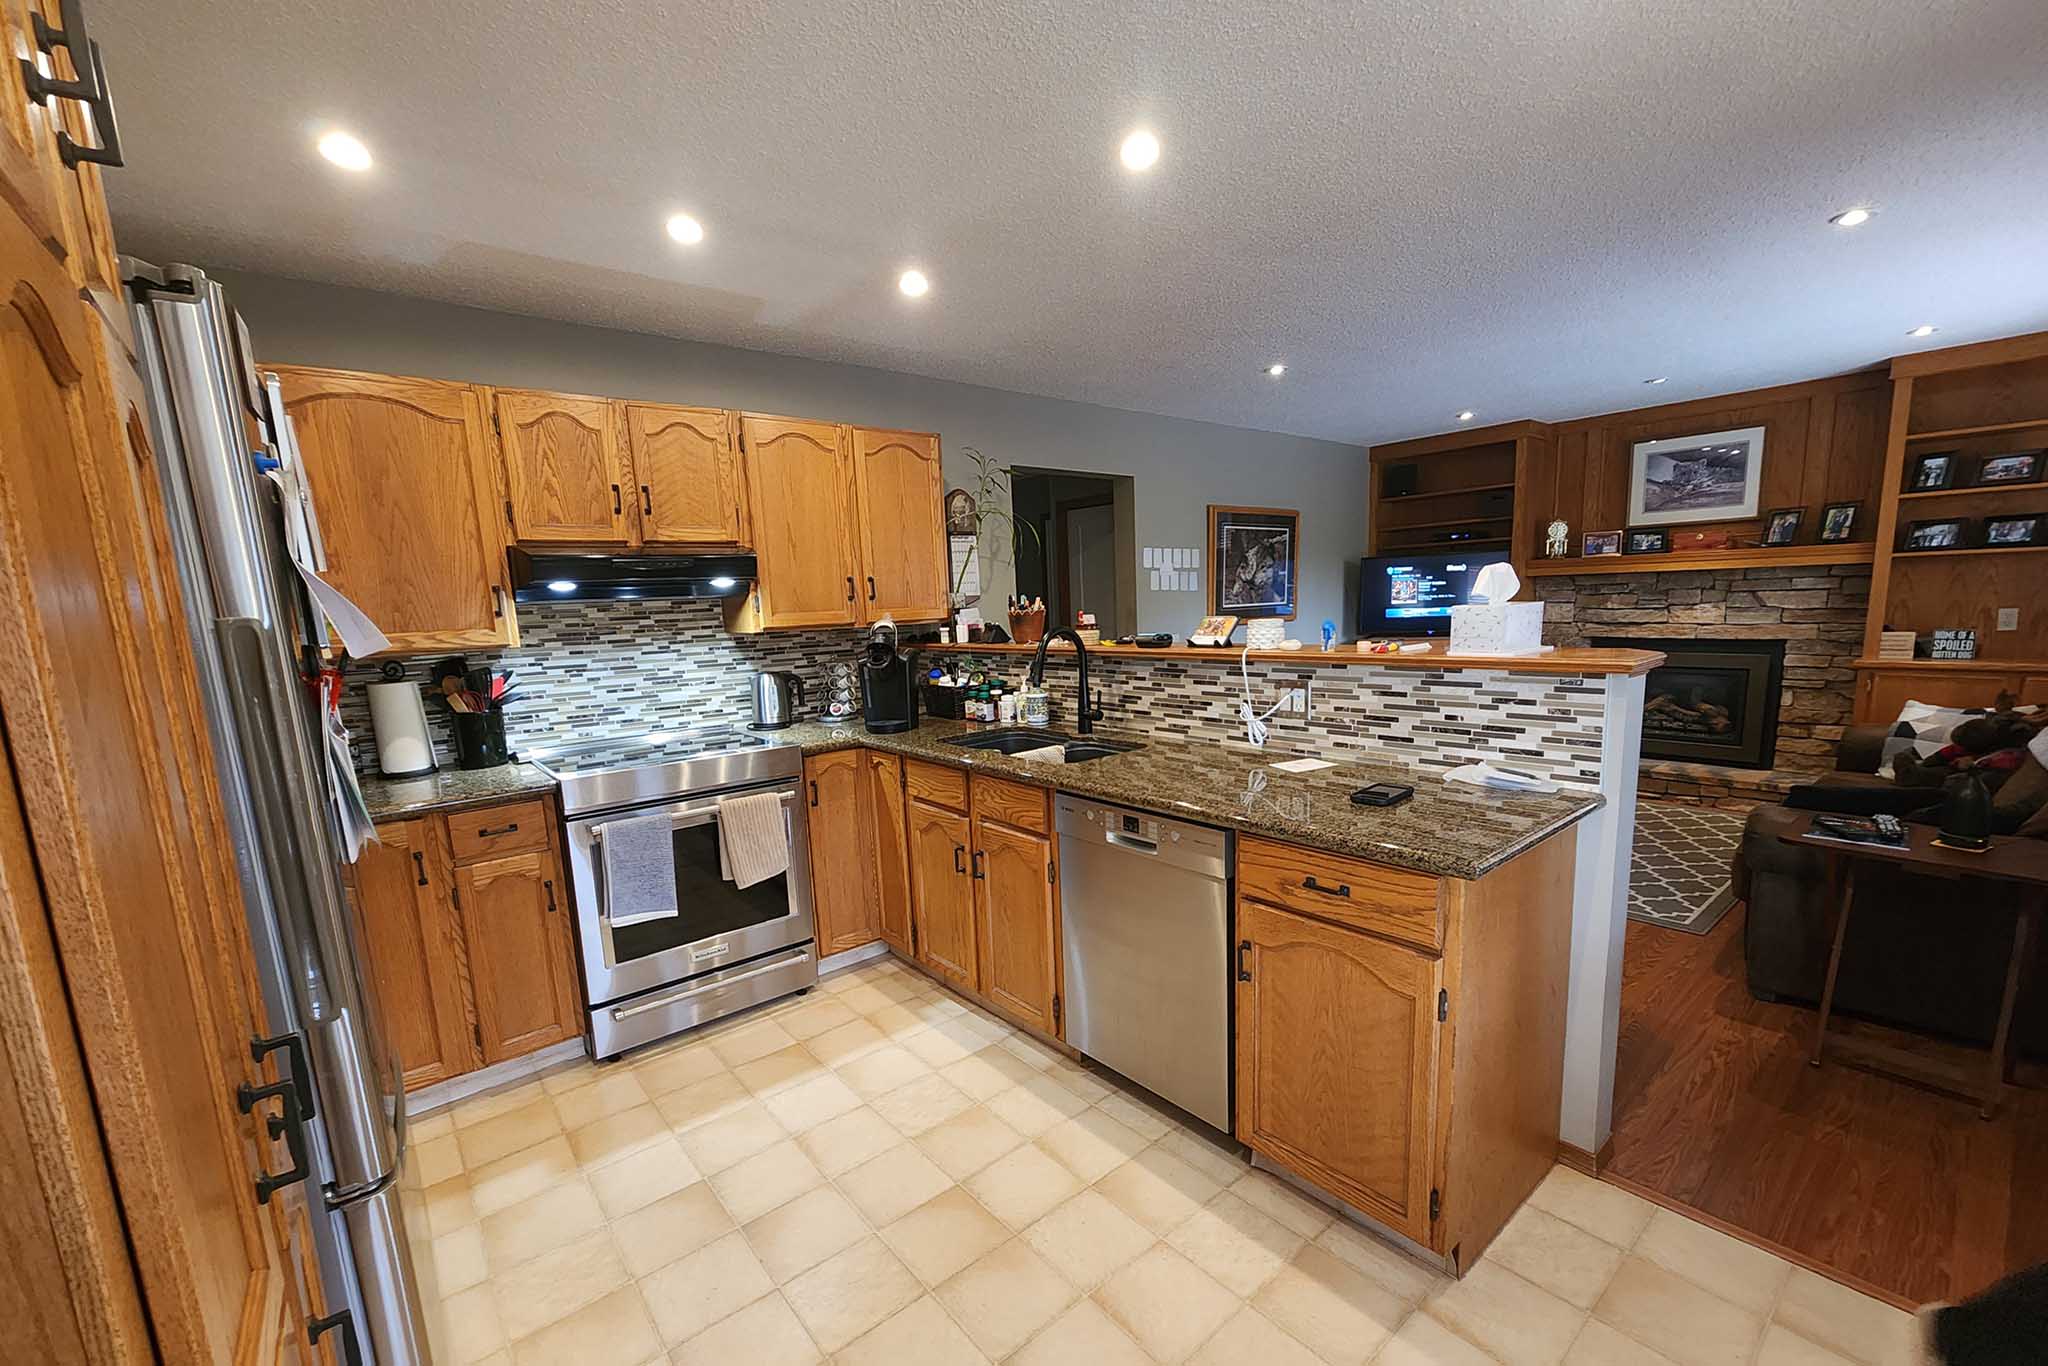

Before Photos


After Photos








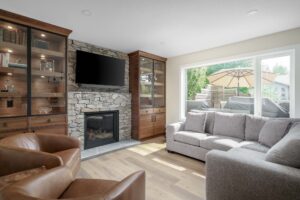

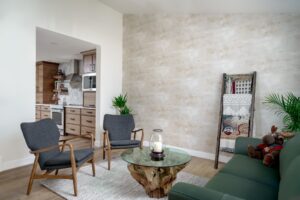


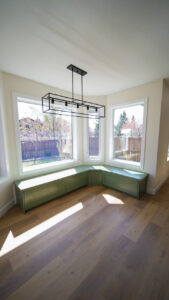
“It was important to me to find a renovator that I could build a comfortable relationship with for the transformation of my Lake Sundance home. After an exhaustive search for that renovator, I chose Rusch Design Build…and never for a moment have I regretted that choice! Phillip, Oliver, Tawnya and the entire Rusch Team were the perfect ‘partners’ in my renovation project. From their design ideas and selection of finishes to the construction and last-minute alterations, Rusch listened, communicated and were considerate of my ideas and needs. The workmanship and attention to detail resulted in an end-product beyond anything I envisioned or could have done on my own. On top of all that it bears mentioning how clean they kept their construction site / my home!
All those horror stories involving disastrous home renos and unscrupulous renovation contractors makes finding a contractor with the integrity, dependability and thoroughness of Rusch Design Build feels a little like winning the lottery.
If you are looking for a trustworthy partner to execute your home renovation project, you need look no further than Rusch Design Build.”
— Homeowner, Lake Sundance ★★★★★
Renovation Goals
The home had good bones and a beautiful backyard, but the main floor felt dated and divided. The kitchen was closed off from the dining room by a wall and from the family room by a raised breakfast bar, storage was limited, and the oak cabinets, busy mosaic backsplash and vinyl tile hadn’t aged well. The family room was dominated by oak built-ins, the living areas had carpet and popcorn ceilings, and a solid wall above the stairs blocked light and sightlines.
- Remove the walls separating the kitchen, dining room and family room to create one larger kitchen
- Add a long island and far more storage, including a proper pantry
- Create a dedicated coffee and wine station
- Turn the fireplace into a modern focal point
- Brighten the stairwell and entry
- Update the powder room
- Replace carpet, laminate, vinyl tile and popcorn ceilings throughout the main floor
The key challenge in this Sundance renovation was joining the kitchen and dining room into one space. The dining room had a vaulted ceiling and the kitchen a flat one, so once the wall came down, the dining room ceiling was dropped to match the kitchen height to create one clean, continuous ceiling. The sink also moved to the new island, which meant rerouting drainage, water lines and return-air venting while fitting in far more storage than the original U-shaped layout allowed.
Vision
Warm Walnut, Soft Green and Natural Texture
The design pairs warm walnut cabinetry with an Avon Green island and handmade jade tile, a palette that connects the kitchen to the leafy backyard. Natural stone at the fireplace, a live-edge table in the nook and a textured wallpaper wall in the living room add depth. White walls, white trim and a glass railing keep the main floor bright and open.
Design Phase
Creating Clarity Before Construction
- Removed the wall between the kitchen and dining room, plus the half wall and raised breakfast bar at the family room
- Dropped the dining room’s vaulted ceiling to match the kitchen ceiling height
- Used the combined space for a larger kitchen with a long island and a full-height walnut pantry and fridge wall
- Moved the sink to the island with seating
- Designed a separate coffee and wine bar with wine cubbies and floating shelves
- Planned the range wall with tall cabinets, an appliance garage and a built-in microwave
- Built bench seating into the breakfast nook bay window
- Lowered the existing fireplace and refaced it in stone, with glass-door walnut bookcases on each side
- Removed the solid wall above the stairs and added glass railings on both levels
- Redesigned the powder room with a new vanity, shiplap wall and jade tile backsplash
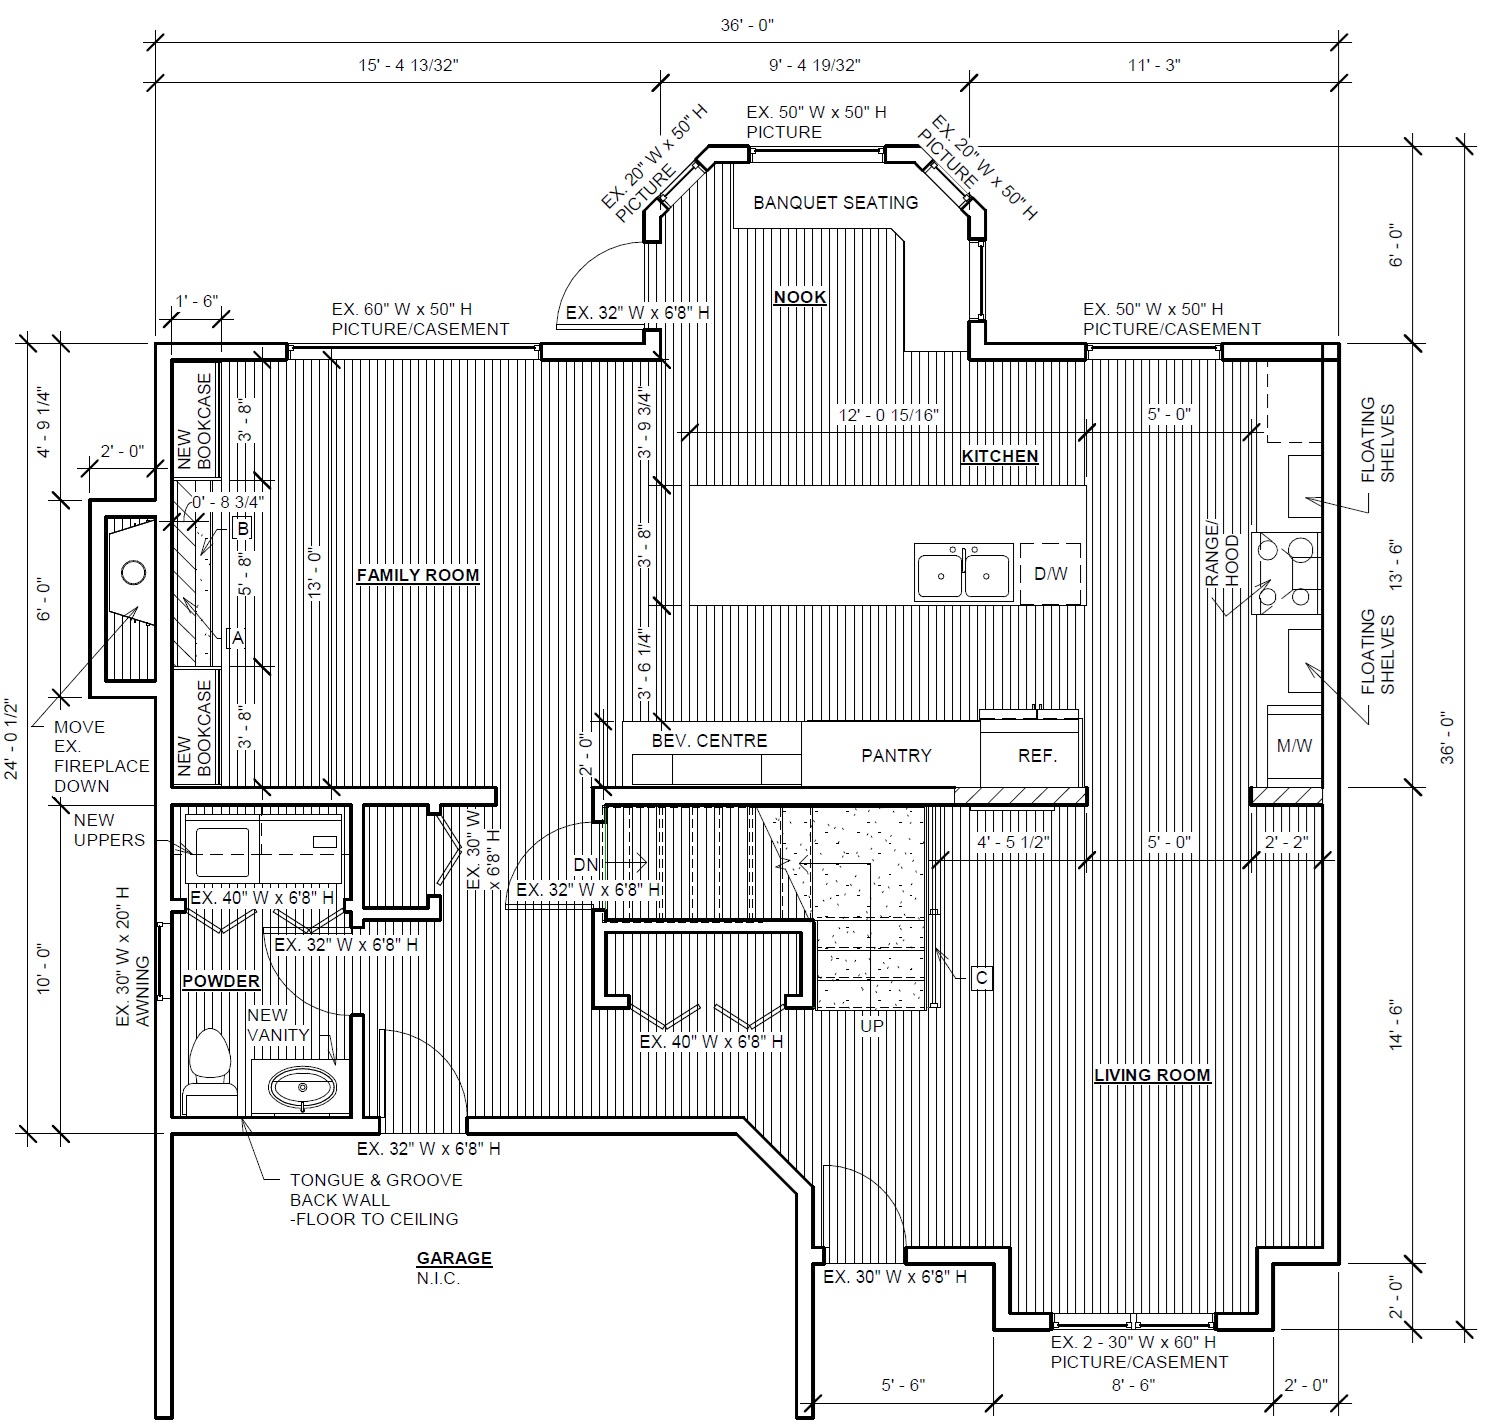
BEFORE & AFTER FLOOR PLANS
The original main floor split the kitchen, dining room and family room into separate spaces, with a wall between the kitchen and dining room and a raised breakfast bar on a half wall at the family room. The new plan removes both walls, drops the dining room’s vaulted ceiling to match the kitchen, and uses the combined space for a long island, a full-height walnut pantry wall and a dedicated coffee and wine bar.
Old Floor Plan
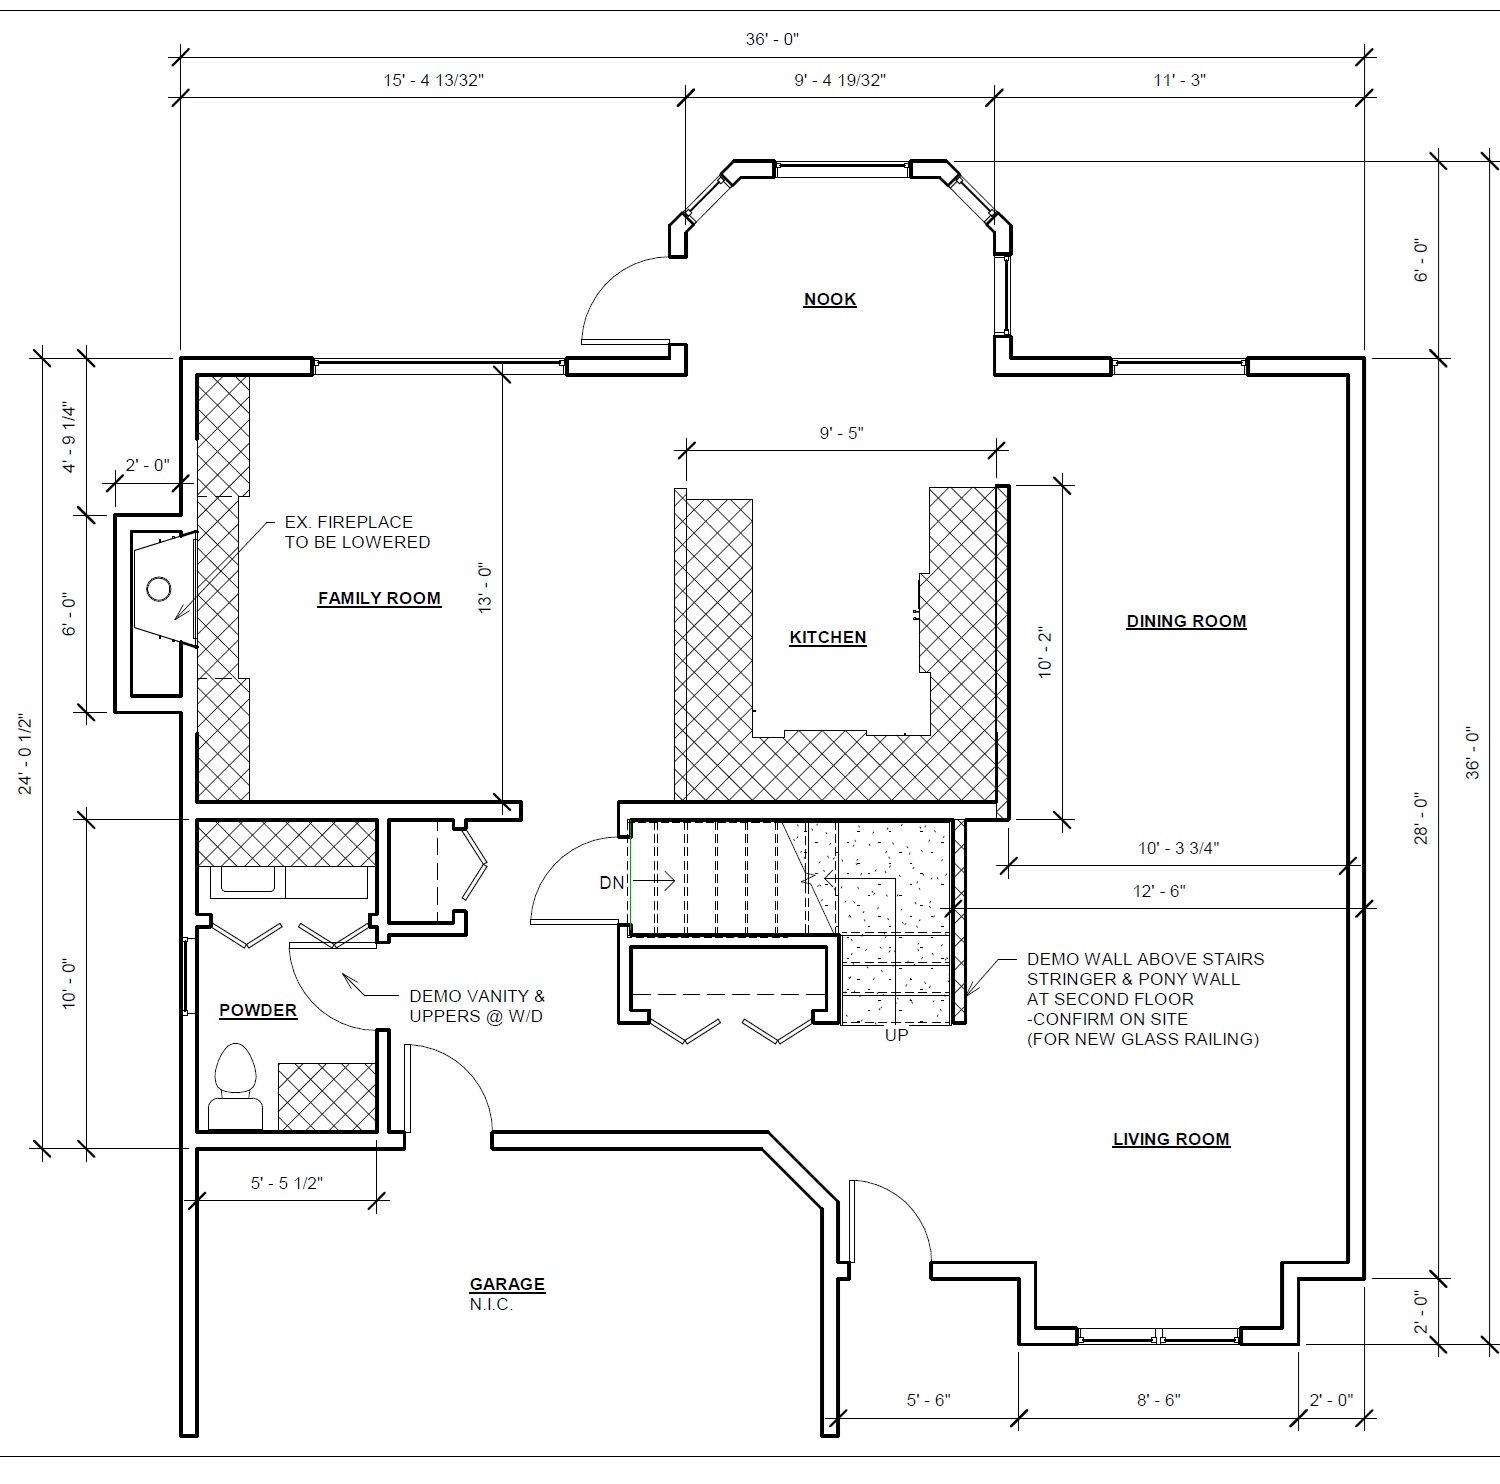
New Floor Plan
3D RENDERINGS
Detailed 3D renderings let the homeowners see the new open kitchen and family room before construction began. They showed how the long Avon Green island would sit in the space once the kitchen and dining room wall came down, how the walnut cabinetry would balance the green tones, and how the stone fireplace and glass-door bookcases would anchor the family room. Seeing the full layout early confirmed proportions and finishes up front, which supported accurate pricing and fewer decisions during construction.
Kitchen 3D Render

Fireplace 3D Render

Construction Phase
Bringing the Design to Life
Construction started on January 23, 2023, and finished on May 3, 2023, about 14 weeks from demolition to final walkthrough. The work was completed under a City of Calgary building permit, with plumbing and electrical inspected along the way. Our team removed the non-load-bearing wall between the kitchen and dining room, the half wall at the family room and the solid wall above the stairs. We framed a new dropped ceiling in the former dining room to match the kitchen, and built new walls for the walnut pantry and fridge wall. We relocated the sink drainage and water lines to the new island, ran a new water line to the fridge, reworked the return-air venting into the island, and vented the new hood fan to the exterior.
Popcorn ceilings were scraped and refinished with a knockdown texture across the kitchen, living rooms, dining area and entrance. New electrical included 15 pot lights, dimmers throughout, and LED lighting under the shelves at the range, coffee bar and fireplace bookcases. We lowered and refaced the fireplace in natural stone, installed a glass railing from the main floor to the second floor, added a shiplap wall in the powder room and a wallpapered feature wall in the living room, and finished the main floor with new LVP flooring, baseboards, casings and paint. The homeowners’ own appliances, including their induction range, were reused in the new layout.
| Project Facts | |
|---|---|
| Neighbourhood | Sundance (Lake Sundance), SE Calgary |
| Scope | Kitchen, dining room, coffee bar, breakfast nook, family room, living room, stairwell, powder room |
| Timeline | January 23 – May 3, 2023 (about 14 weeks) |
| Permits | City of Calgary building permit |
| Highlights | Kitchen and dining wall removed, dropped ceiling, Avon Green island, jade coffee bar, stone fireplace, glass railings |