


WORK
Main Floor Renovation
YEAR
2025
SCENIC ACRES
SCENIC ACRES RENOVATION
Kitchen and Main Floor Renovation in Scenic Acres, Calgary
Project Overview
This Scenic Acres renovation started with a practical need, replacing the home’s original Poly-B plumbing, and grew into the main floor renovation the family had wanted for years. We reworked the main floor of their 1990s two-storey home, from the kitchen and family room to the laundry and powder room.
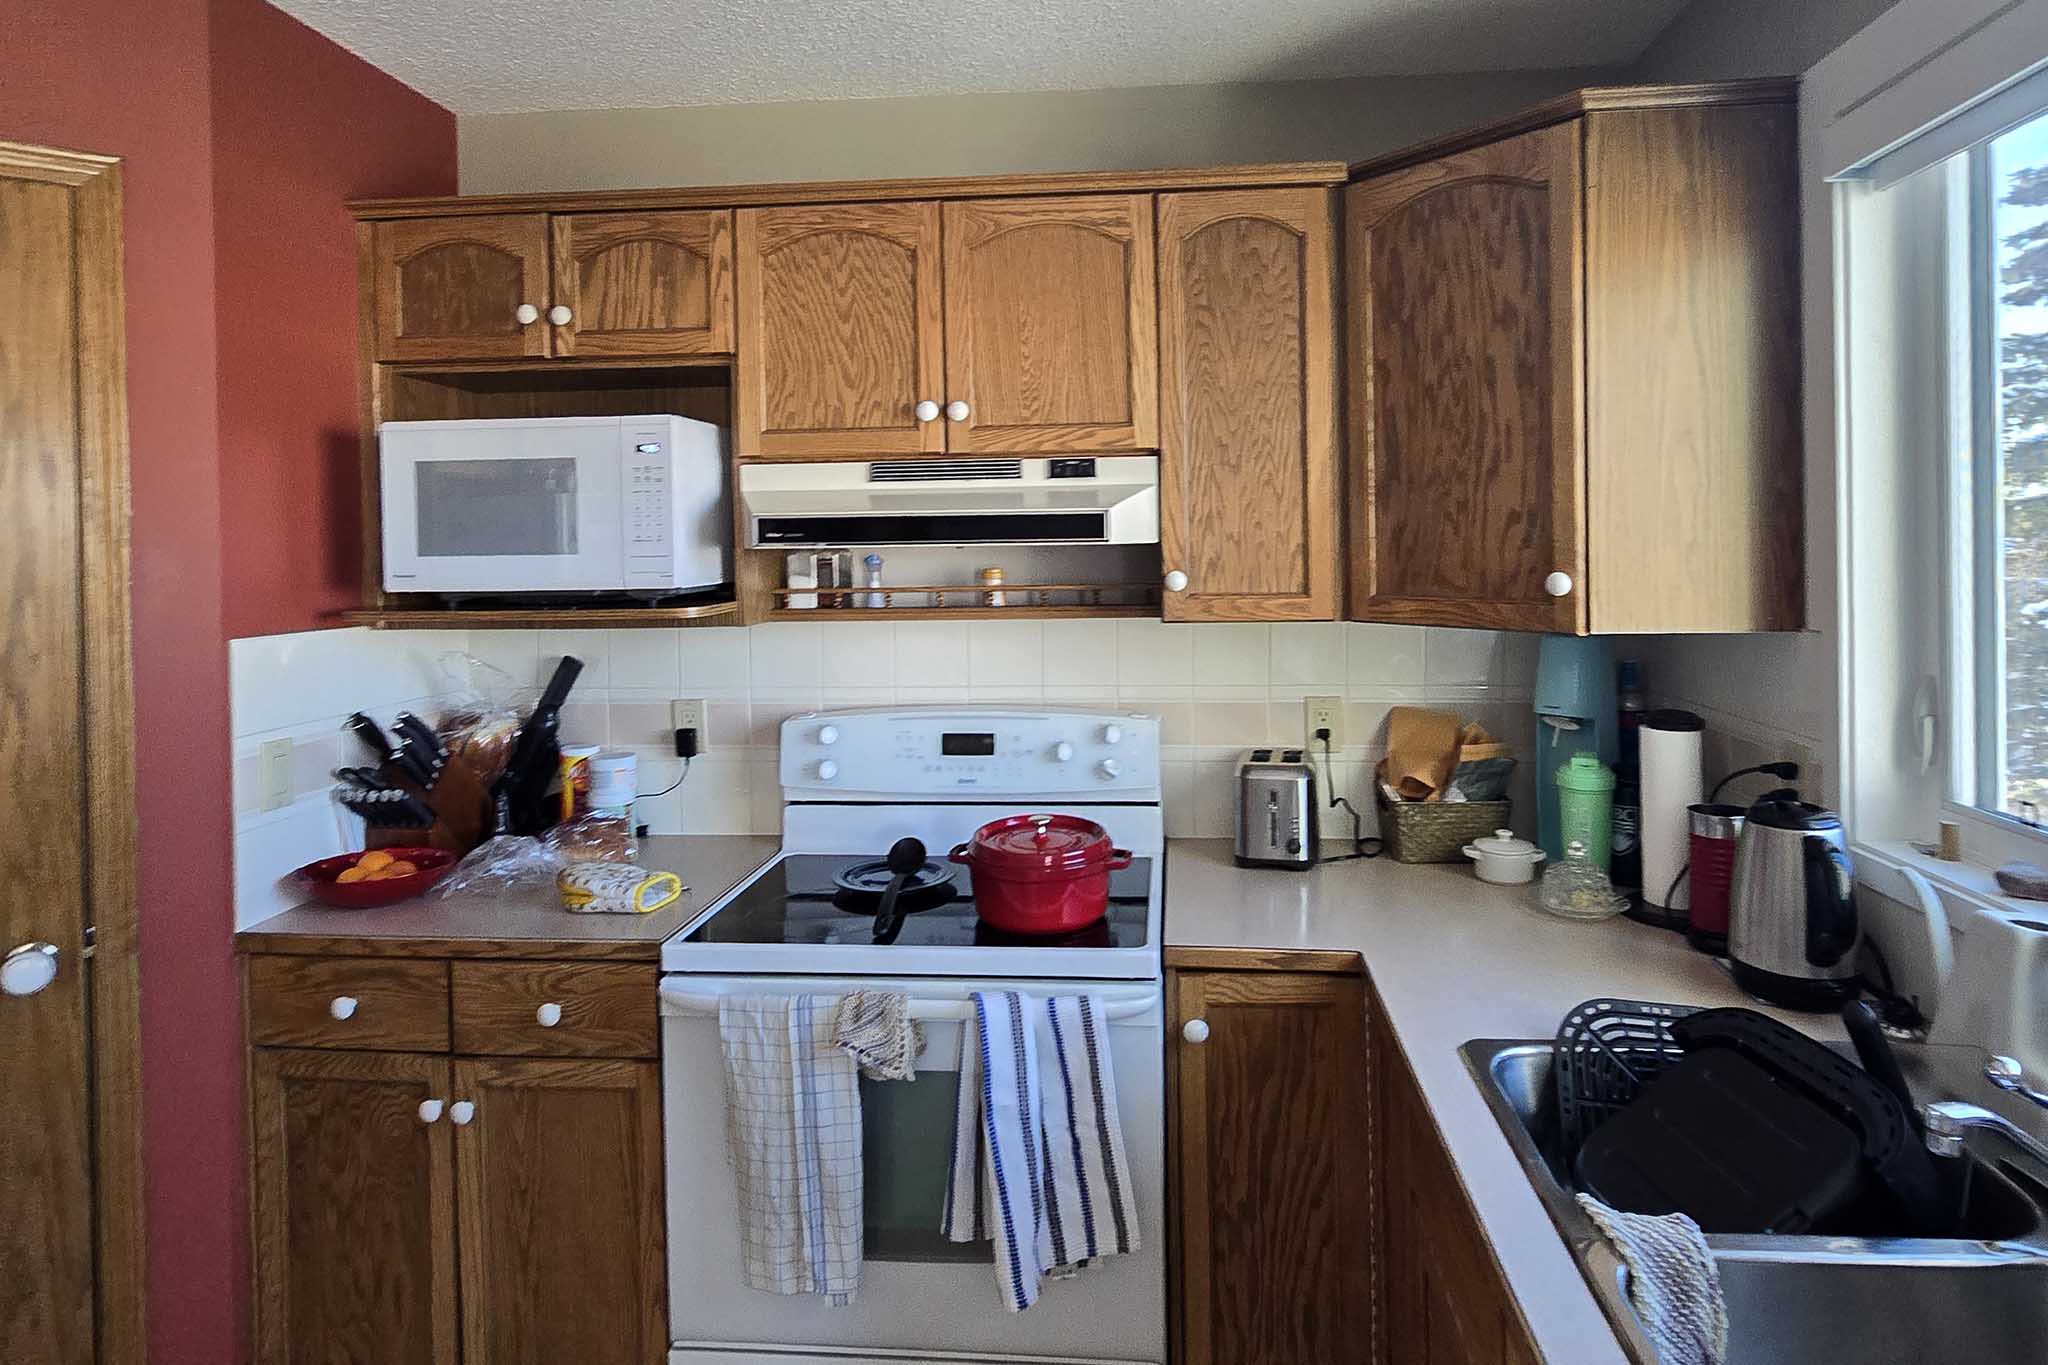
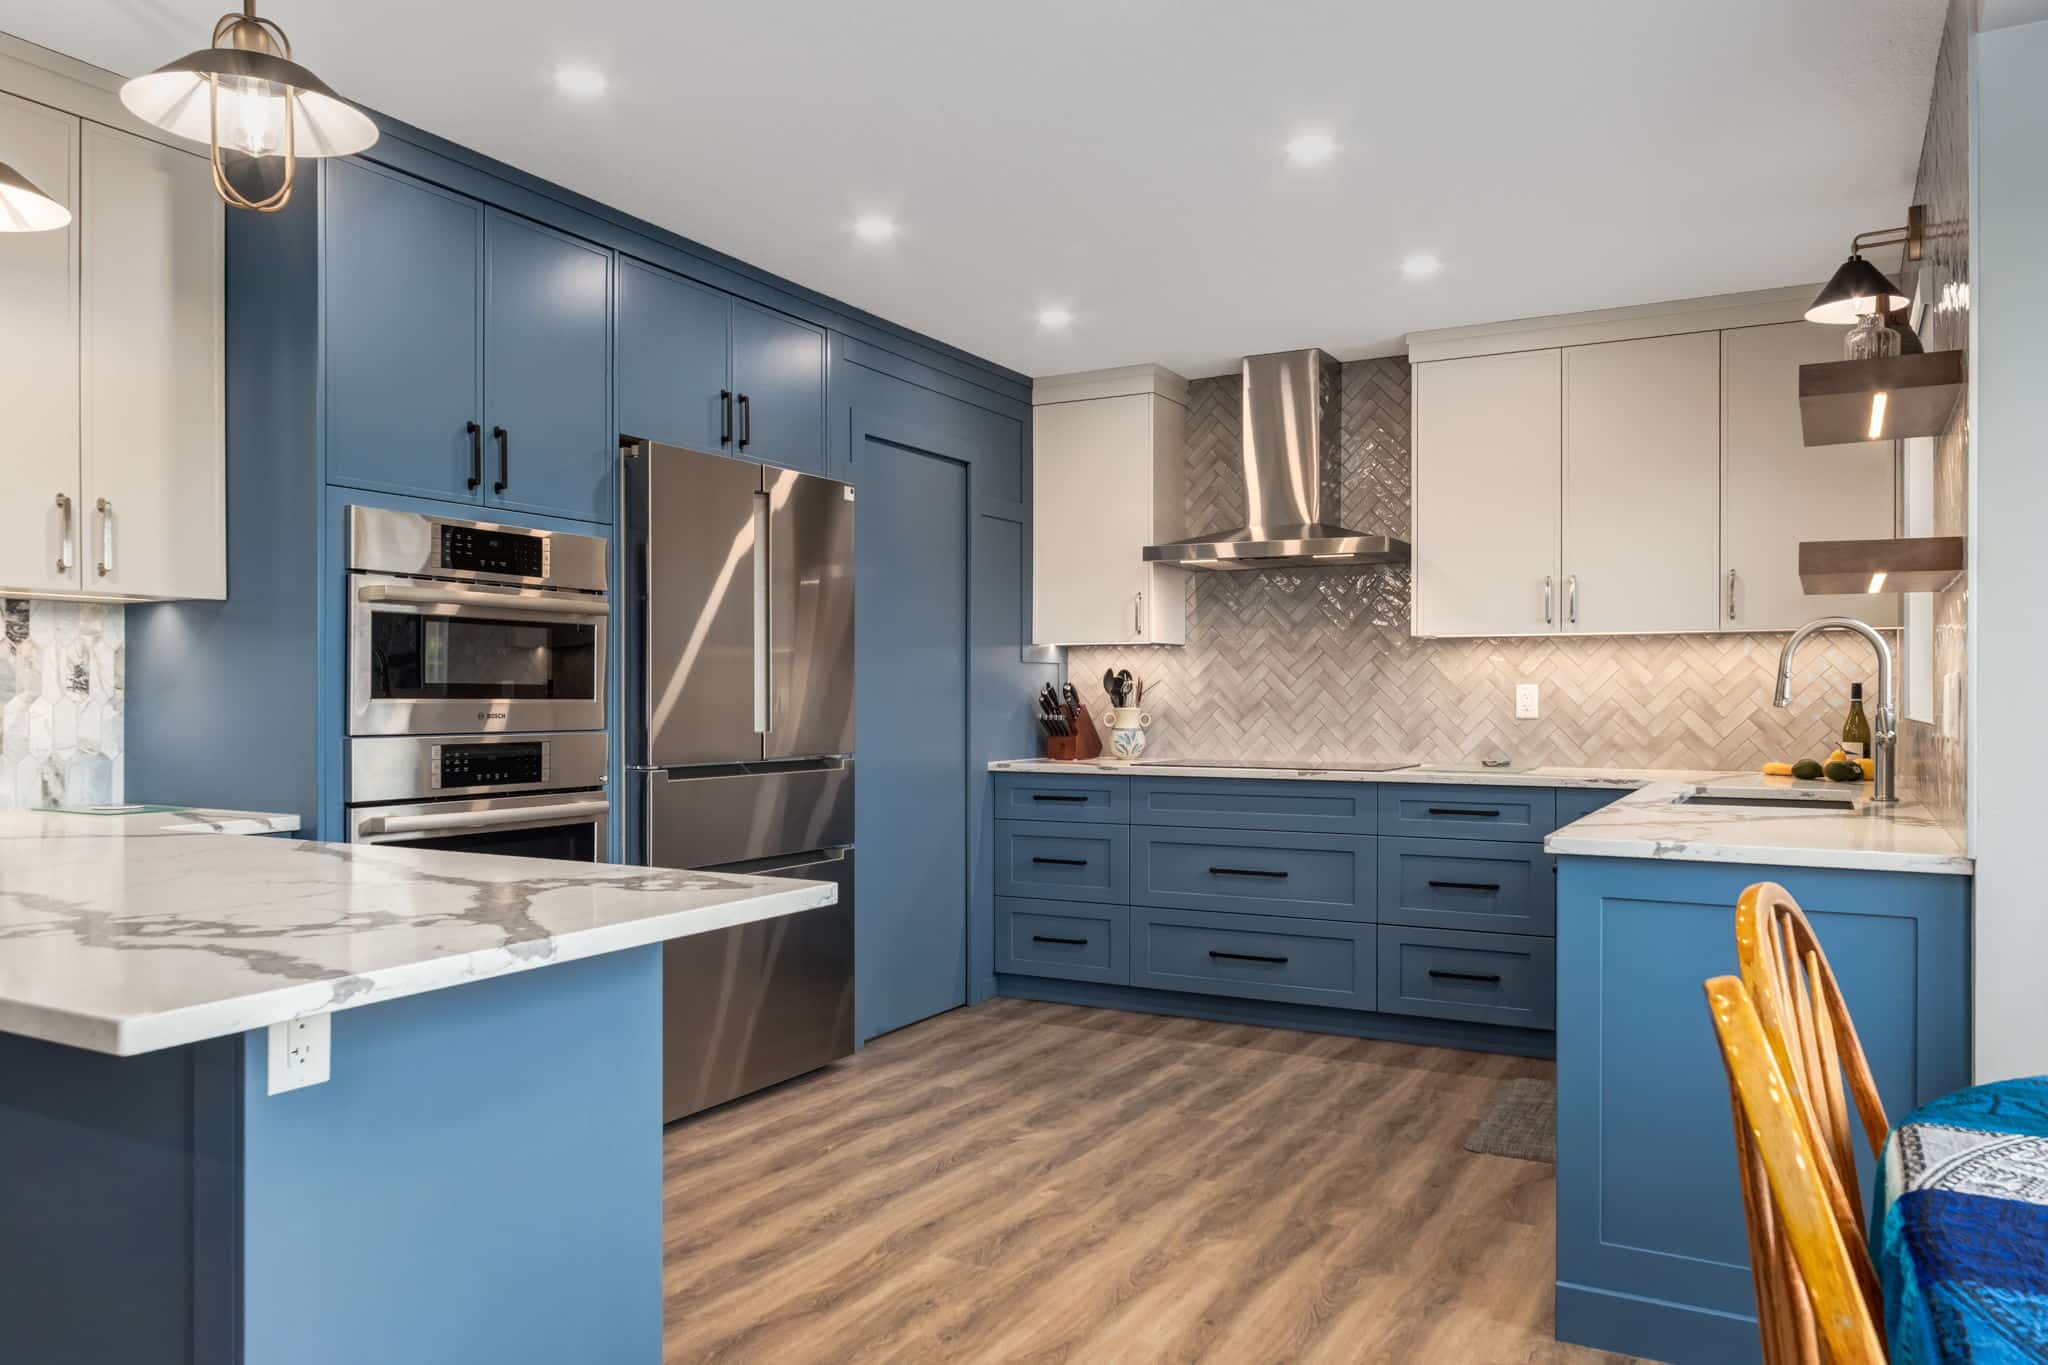
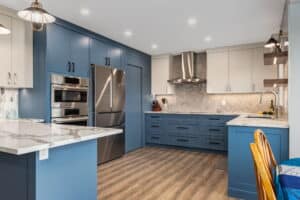
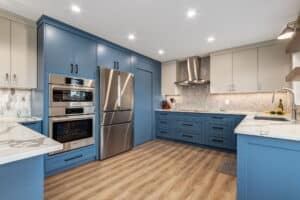
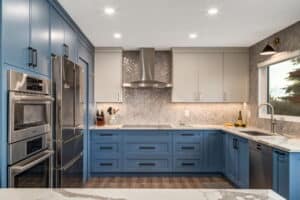
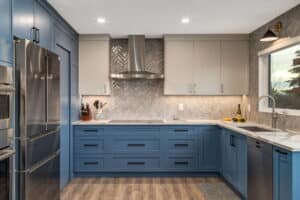
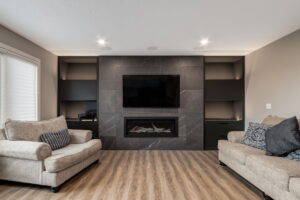
The original kitchen had honey oak cabinets, laminate counters, a small island and an angled corner pantry that wasted space. We rebuilt it around a full wall of tall storage, a built-in oven tower and a hidden butler’s pantry built out into the old dining area, with a long quartz peninsula connecting the kitchen to the dining nook and family room. In the family room, a new gas fireplace sits in a floor-to-ceiling porcelain feature wall with black built-ins. A refreshed laundry room, a new powder room vanity and continuous LVT flooring complete the main floor.
“They brought our 1990s styled home into a modern, updated, cosy place we love.” — T & S, Scenic Acres
Key Features
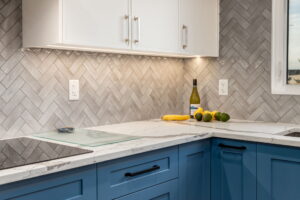
- Two-tone shaker cabinetry in Cloverdale Blue Depths (lowers and tall wall) and Sherwin-Williams Repose Grey (uppers)
- Hidden butler’s pantry behind a panelled door that matches the cabinetry
- Built-in double wall ovens and a recessed French-door fridge
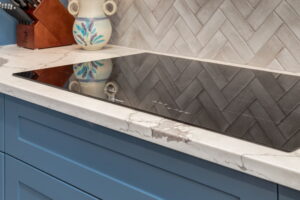
- Induction cooktop and chimney hood with glossy herringbone tile to the ceiling
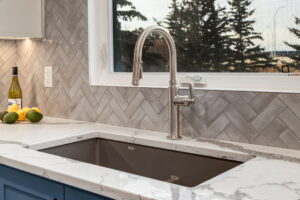
- Baystone Thunder quartz counters with a long seating peninsula
- Floating maple shelves with integrated LED lighting
- Wine and display cabinets over a honed Venetian Blue marble picket backsplash
- New gas fireplace in a floor-to-ceiling porcelain surround with Iron Ore built-ins, LED niches and surround sound
- Laundry room with a folding counter, tall storage and a hanging rod
- Original Poly-B plumbing replaced during construction
- New barrel arch, LVT flooring throughout, new baseboards and casings
The Transformation
Before/After Slider
Before Photos
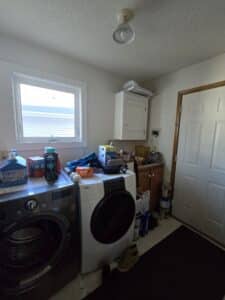
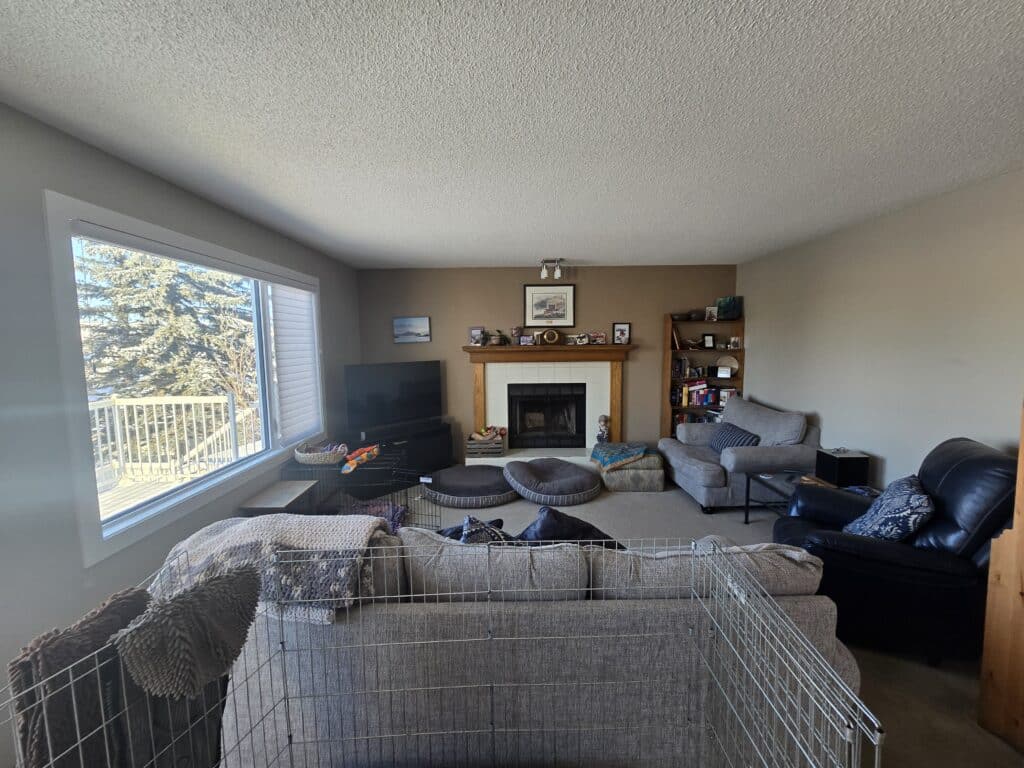
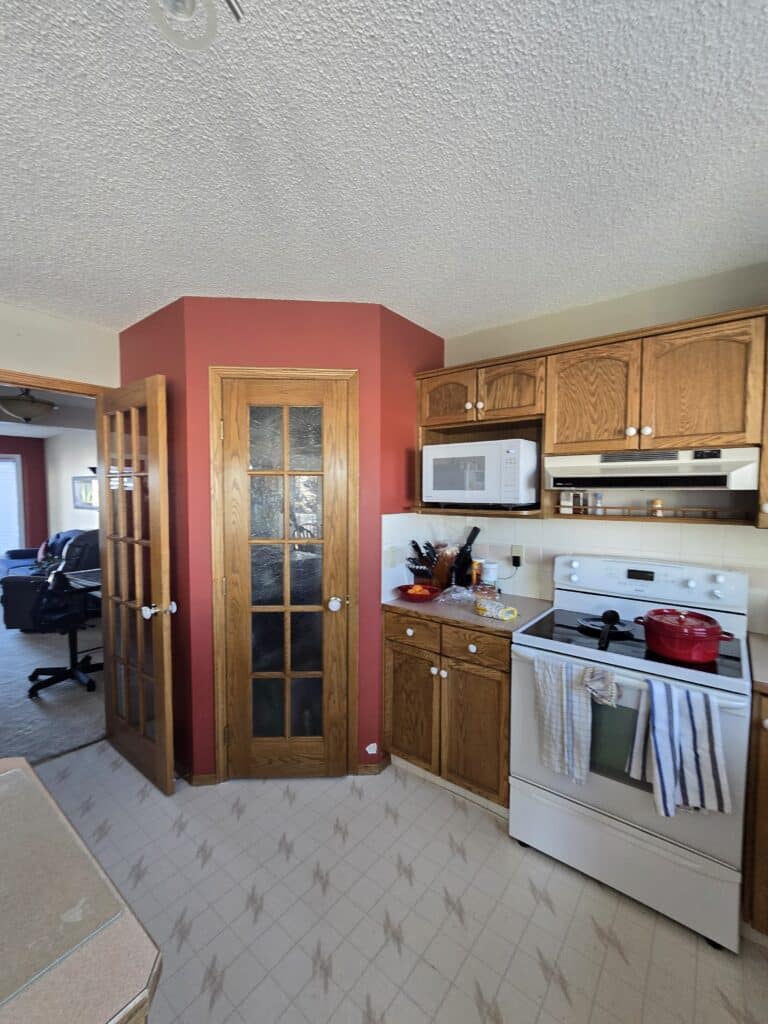
After Photos
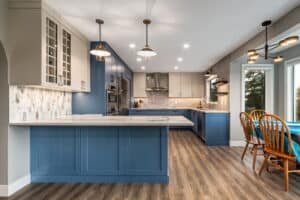
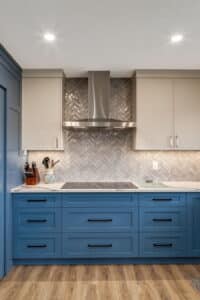
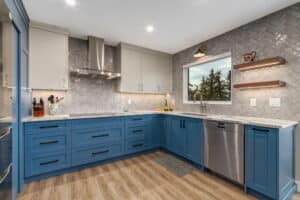
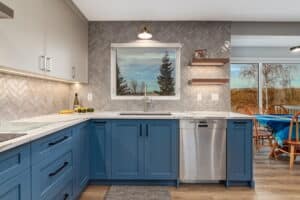
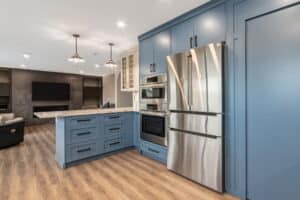
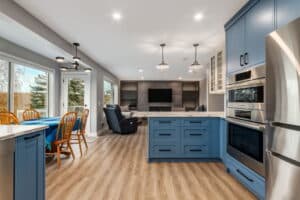
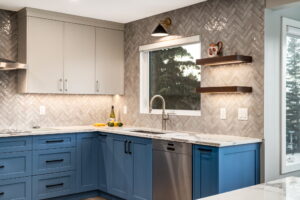
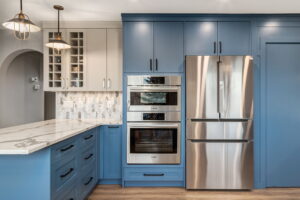

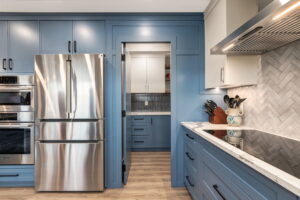
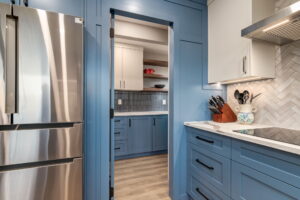
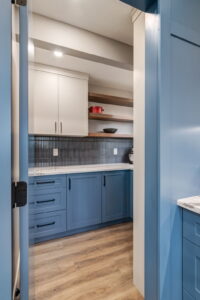
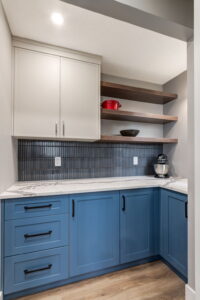

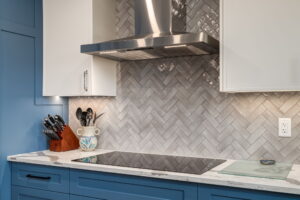



We started our journey by needing to replace our ‘poly b’ and do some long overdue renovations. We interviewed builders and decided to place our trust in Rusch. From day 1 they clearly outlined the process and met our expectations all along the way. The design process created a main floor with a kitchen and family room beyond our wildest dreams. We worked through creative ideas with Tawnya, Oliver and Aldrin. They incorporated our ideas and we were frequently told ‘of course you can do that’. They brought our 1990s styled home into a modern, updated, cosy place we love. During the construction phase we were given weekly updates by our project managers Brad and Brennan. Unexpected issues were dealt with calmly and with ongoing conversations. The trades people were friendly, professional and treated our home with respect. The finished product has created a home we are proud of and are excited to share with family and friends.”
— T & S, Scenic Acres ★★★★★ Google review
Renovation Goals
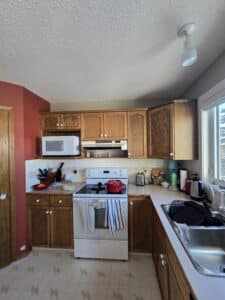
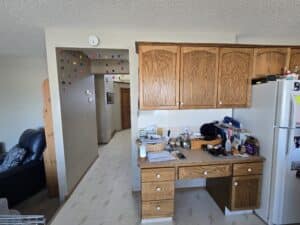
The project began with replacing the home’s original Poly-B plumbing, and it was the right time to fix everything else that wasn’t working. The main floor hadn’t changed since the house was built. Oak cabinets, laminate counters and white appliances felt dated, and the layout worked against the family. An angled corner pantry ate floor space, the small island offered little prep room, and a built-in desk had become a catch-all for mail and clutter. The family room had wall-to-wall carpet and a plain fireplace, and the laundry room had no counter and almost no storage.
- Replace the original Poly-B plumbing
- Modernize the kitchen with a bold, personal colour palette
- Gain real storage, including a proper walk-in pantry
- Add counter space and seating while opening the kitchen to the family room
- Give the family room a focal point for TV, fireplace and media
- Make the laundry room work, with folding, hanging and storage space
- Replace carpet and vinyl with durable flooring across the main floor
The key challenge in this Scenic Acres renovation was finding room for a larger pantry without shrinking the kitchen. The solution was to remove the angled corner pantry, build a new butler’s pantry out into the old dining area, and close it off behind a hidden door in the new cabinetry wall.
Vision
A Colourful, Hard-Working Kitchen With a Few Surprises
Deep blue lowers ground the room, soft grey uppers keep it bright, and texture comes from hand-glazed herringbone tile and warm maple shelves. The pantry door is panelled to match the tall wall, so it disappears when closed. In the family room, a darker palette of grey porcelain and matte black built-ins makes a calm, modern contrast.
Design Phase
Creating Clarity Before Construction
- Removed the angled corner pantry and the wall into it, then built a new butler’s pantry into the former dining area
- Built out a full-height wall with a recess for the fridge, a double oven tower and the hidden pantry door
- Closed off an old doorway and added a barrel arch to define the kitchen entry
- Replaced the small island with a long quartz peninsula with seating
- Included a corner pullout, a pullout waste centre and soft-close drawers throughout
- Built a new wall for the gas fireplace, with flanking built-ins and wiring for the TV and surround sound
- Added built-ins over the laundry machines with a laminate folding counter, matte tile and a hanging rod
- Refreshed the powder room with a new vanity, quartz top, mirror and accessories
BEFORE & AFTER FLOOR PLANS
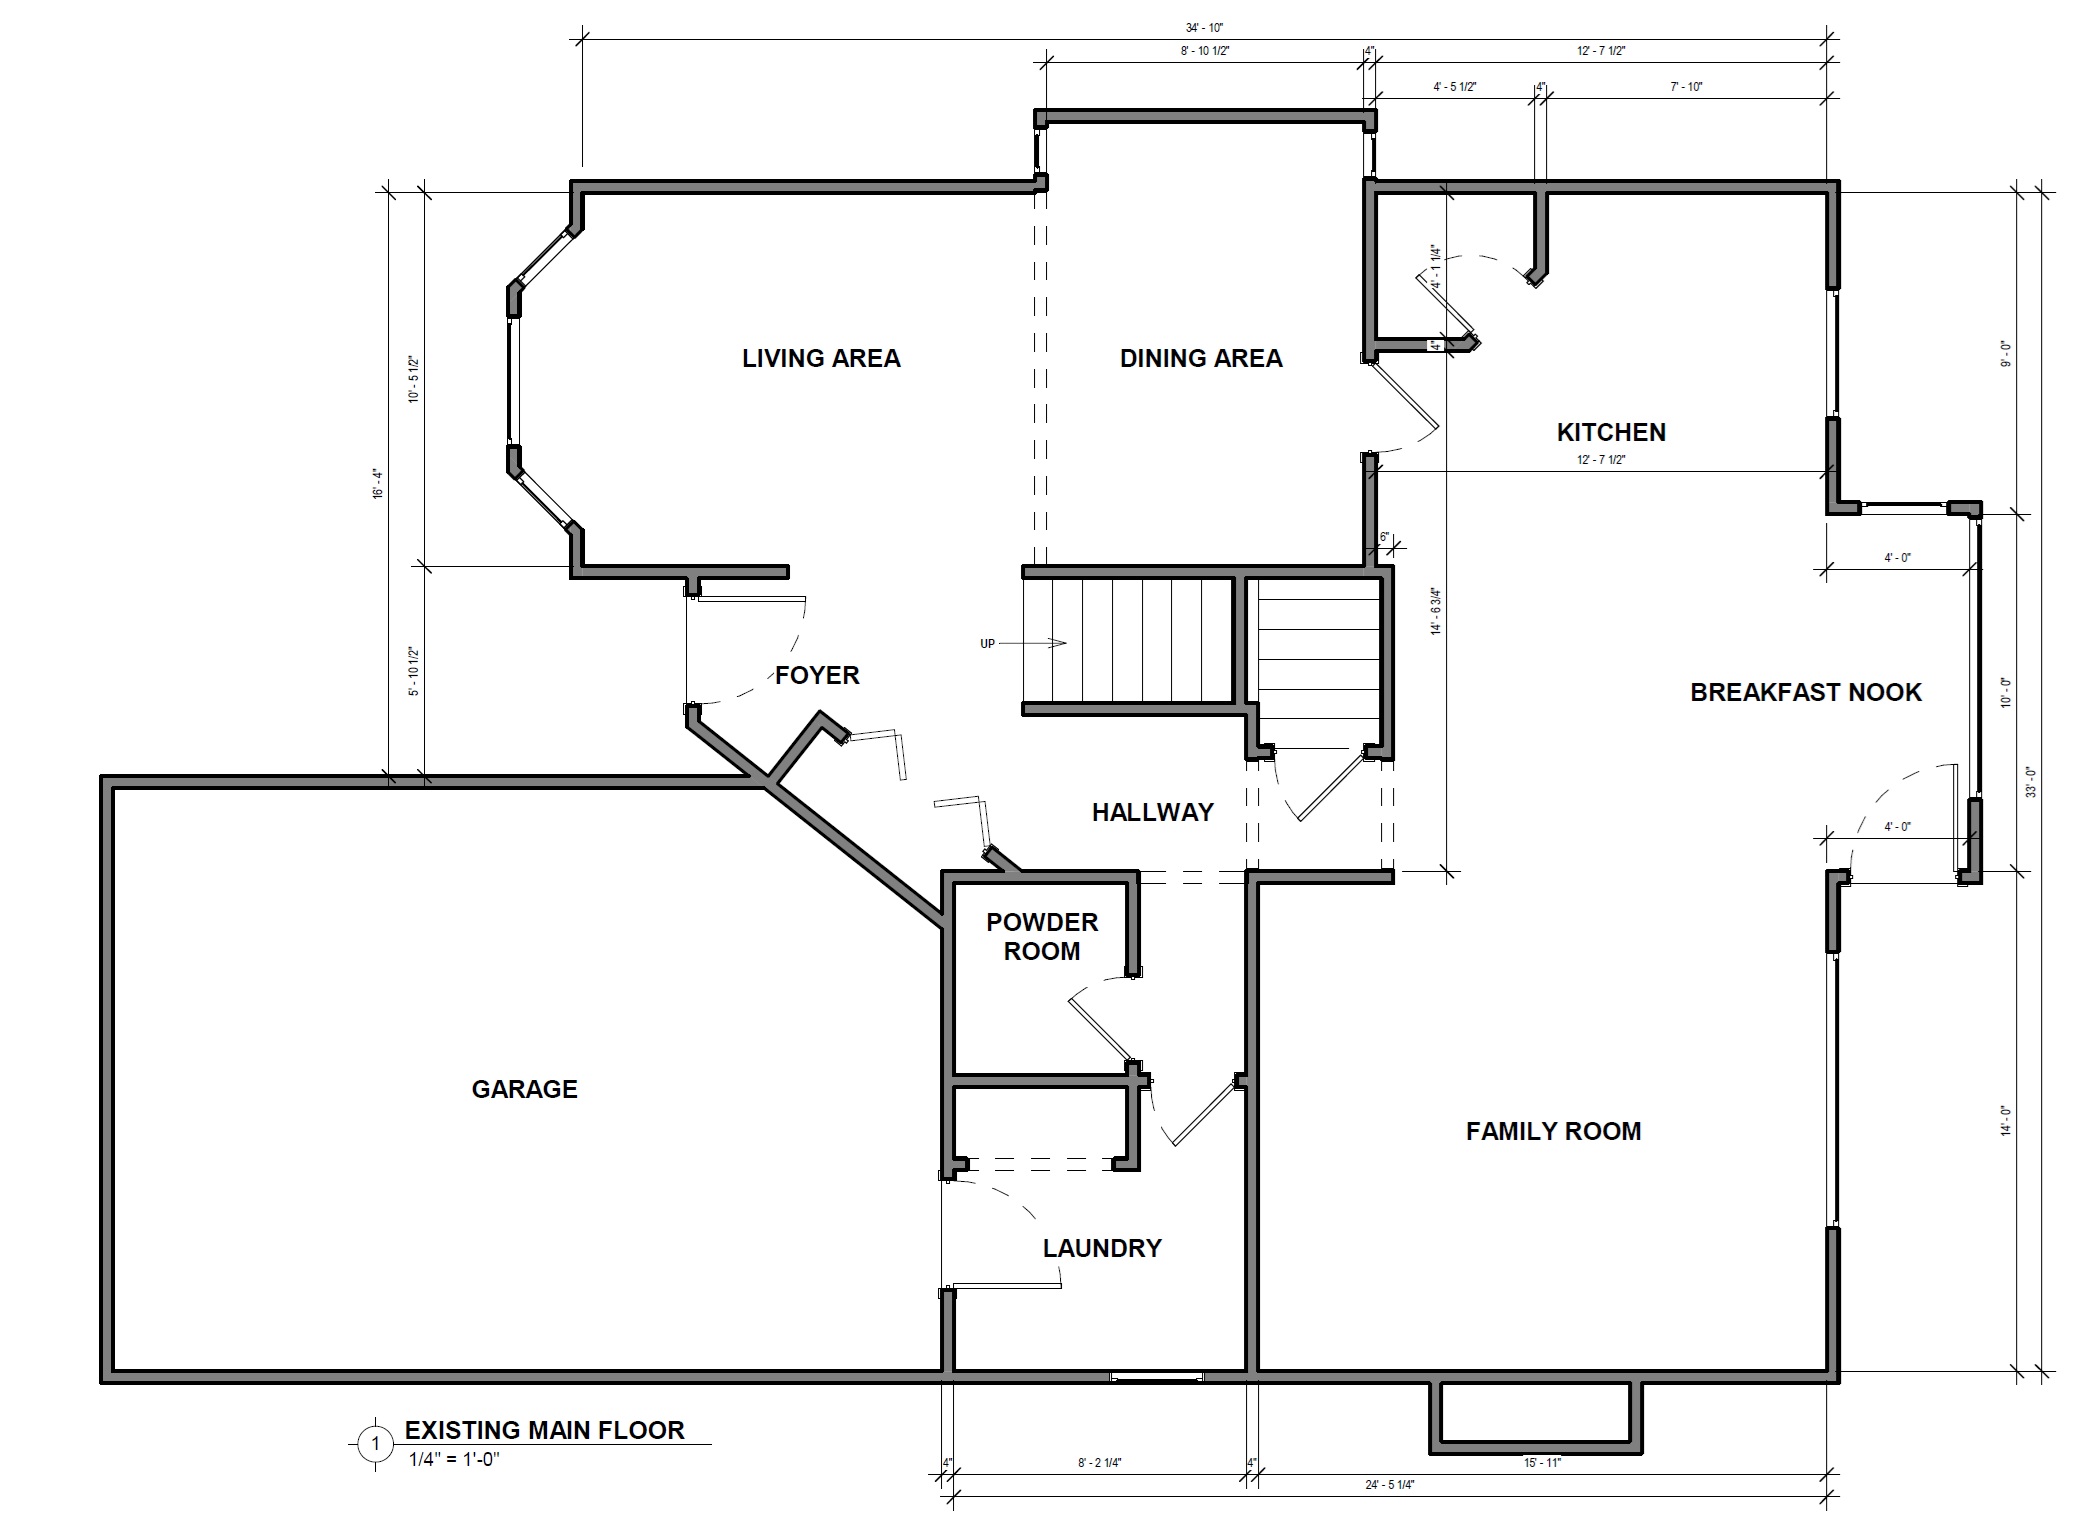
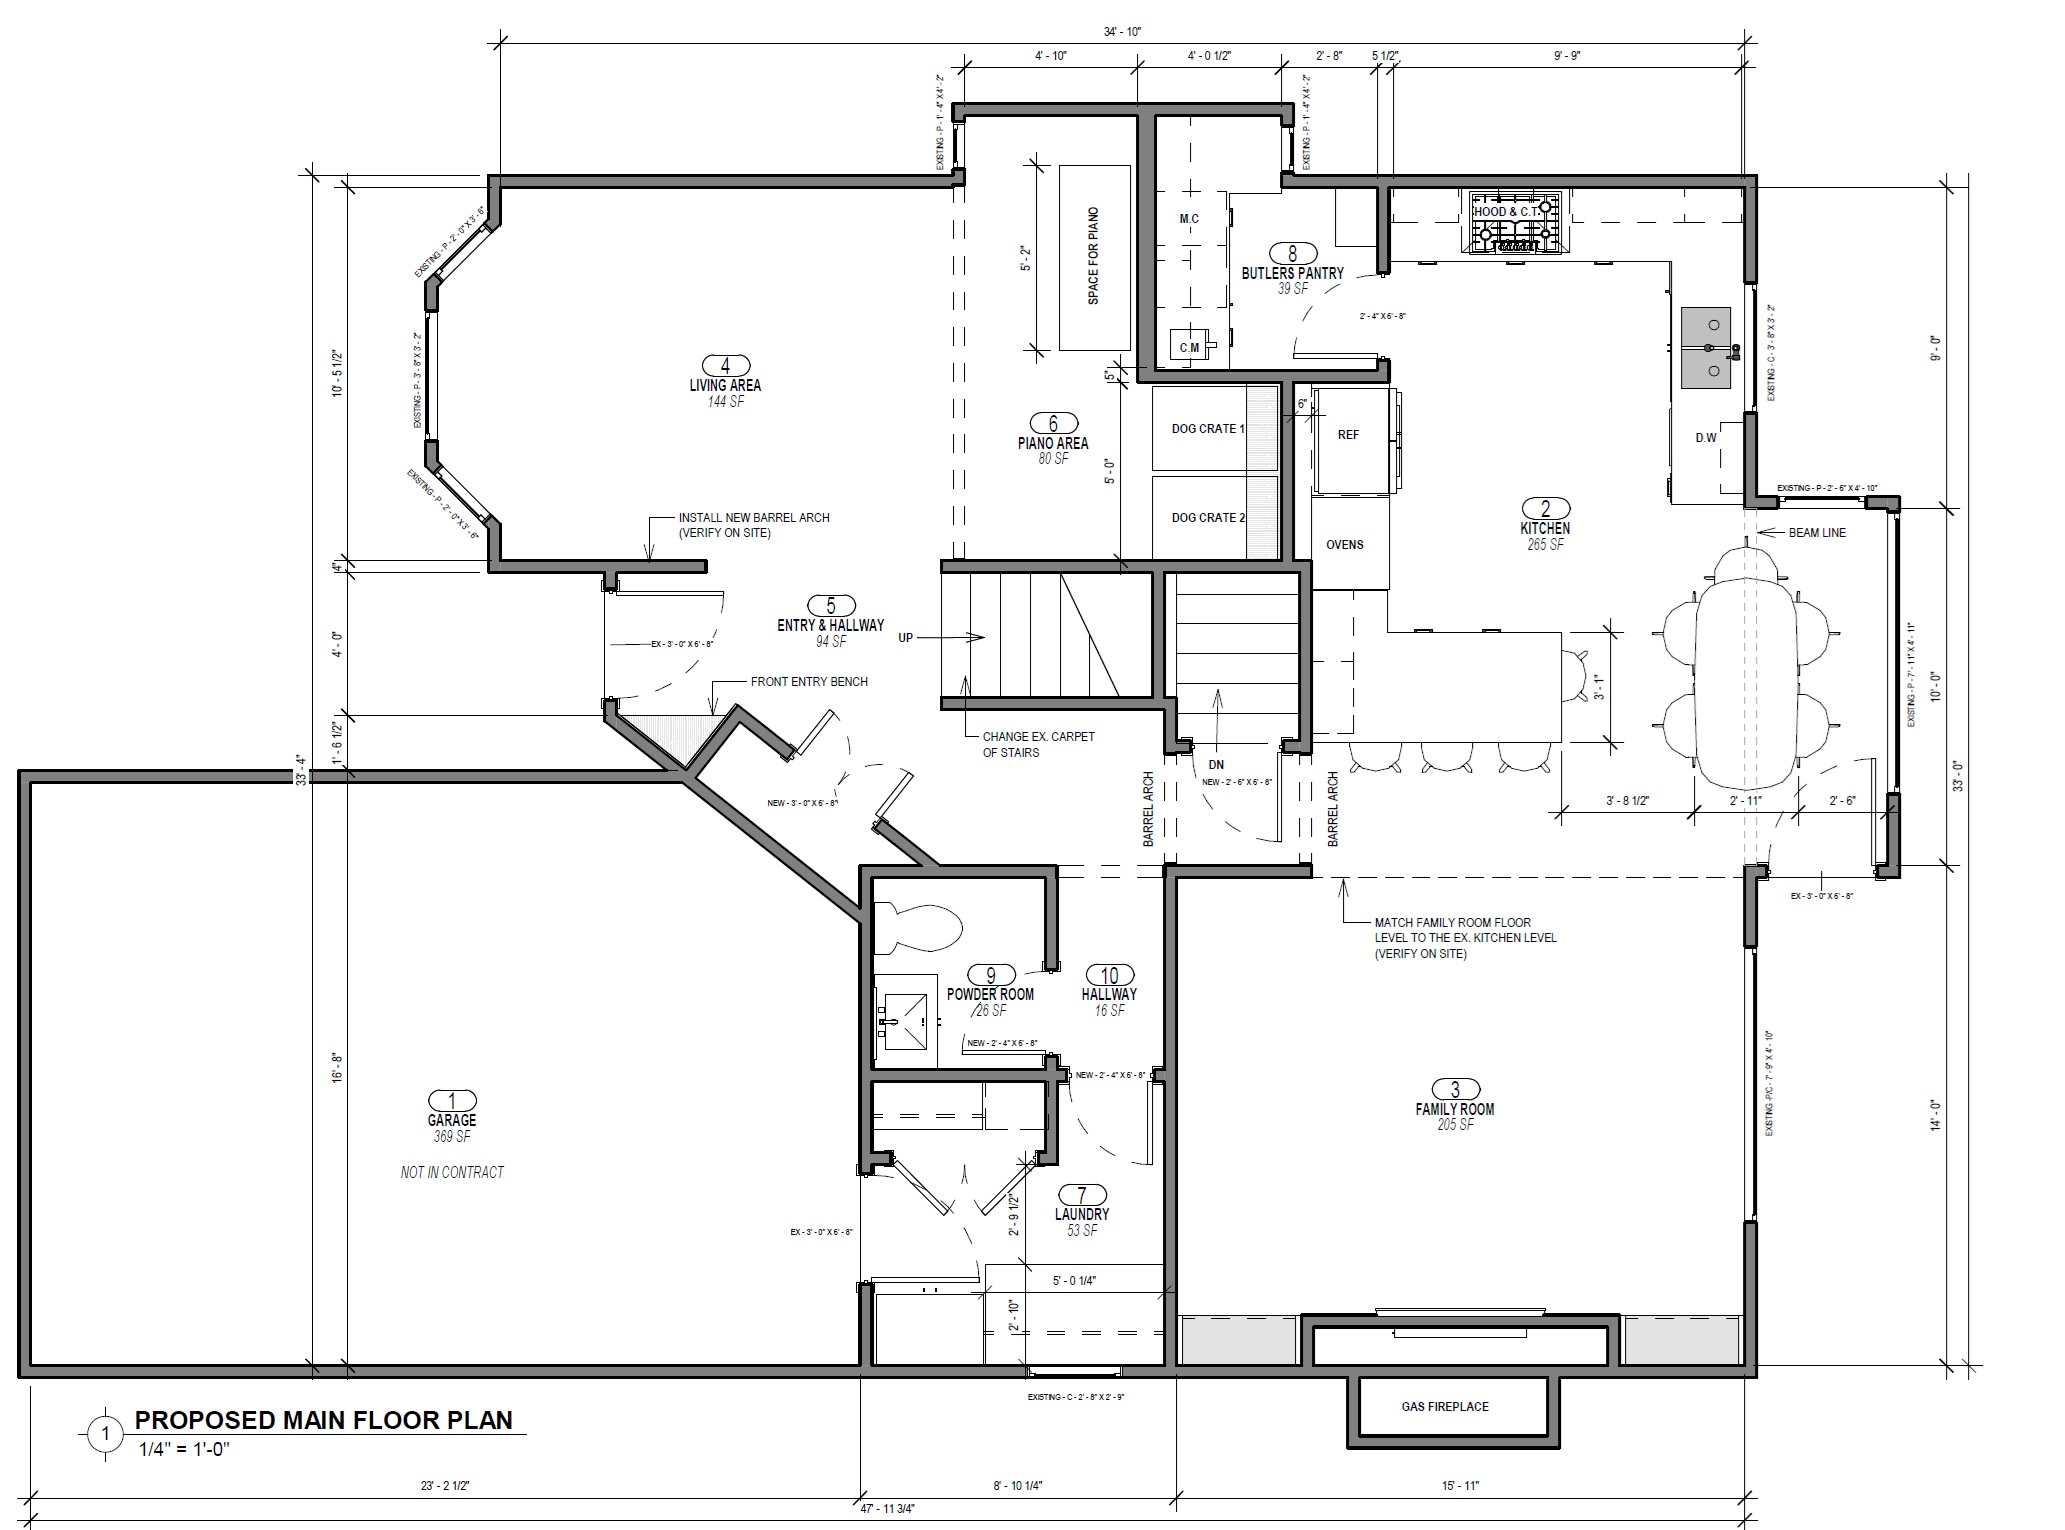
The original main floor separated the kitchen from the dining area with an angled corner pantry and French doors, and a built-in desk took up valuable wall space. The new plan pushes a butler’s pantry into the old dining area, lines the kitchen with a full-height storage wall, and opens the kitchen to the family room with a long seating peninsula.
Old Floor Plan
New Floor Plan
3D RENDERINGS
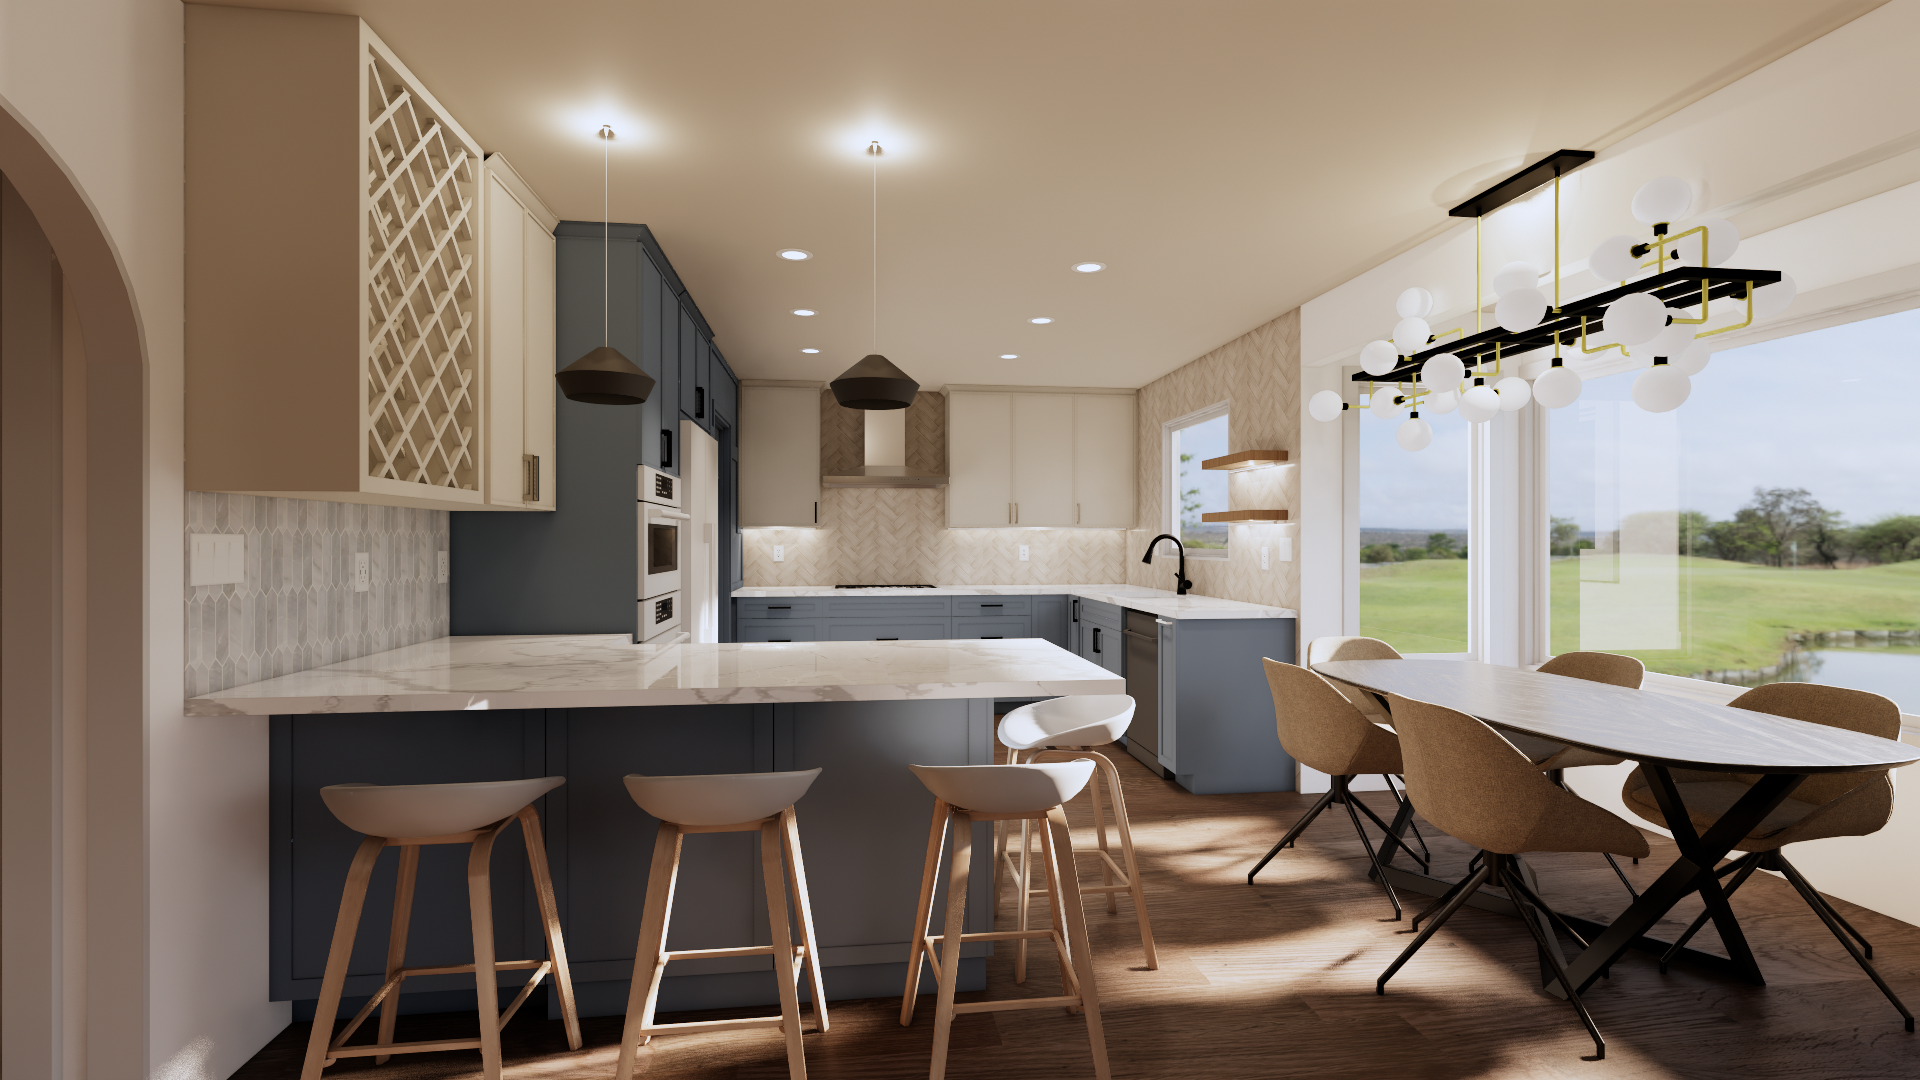
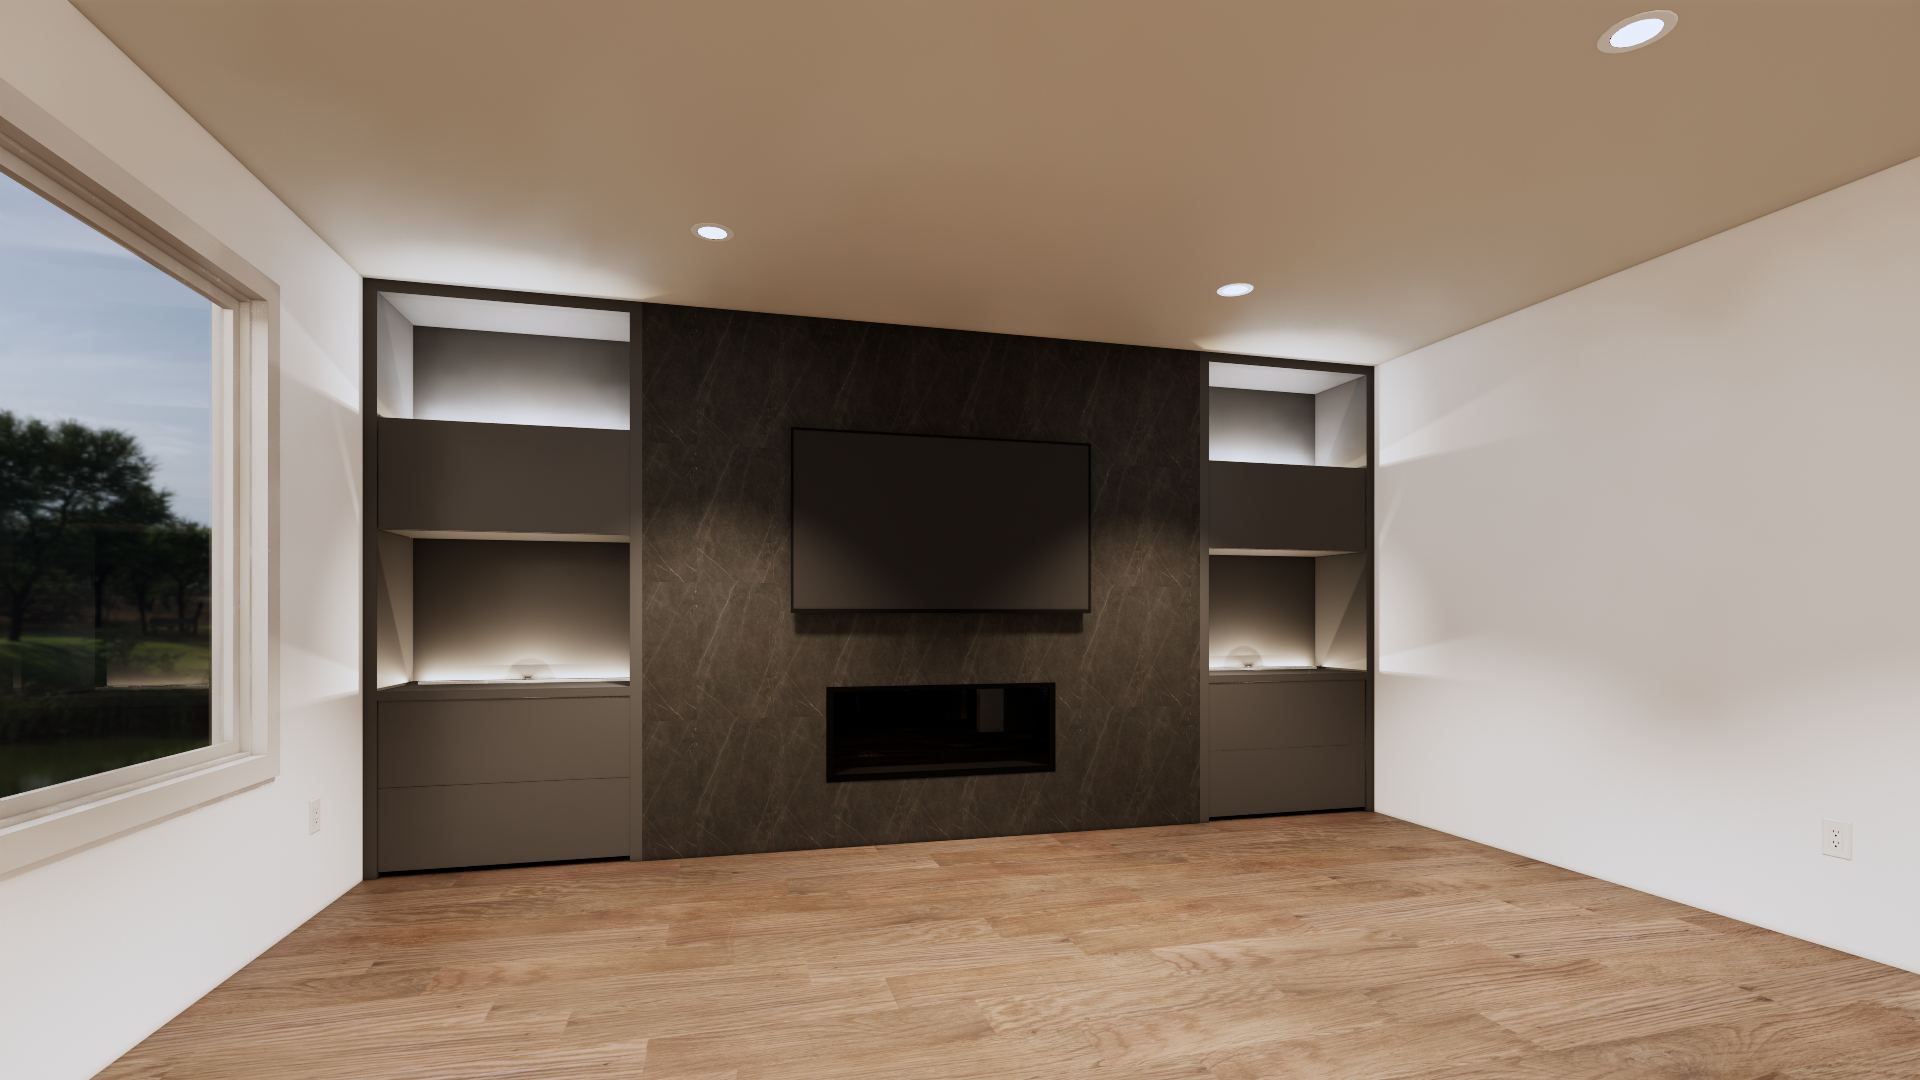
Detailed 3D renderings let the homeowners compare design directions before anything was ordered. One option explored warm wood lowers and a dramatic veined quartz. The chosen design paired blue and grey shaker cabinetry with herringbone tile, and it is very close to the finished kitchen. That early clarity supported accurate pricing and fewer decisions during construction.
Kitchen 3D Render
Fireplace 3D Render
Construction Phase
Bringing the Design to Life
Construction started on July 15, 2025, and finished on November 3, 2025, about 16 weeks from demolition to final walkthrough. Our in-house team handled demolition and framing for the new butler’s pantry and fireplace wall, closed off the old doorway, and built the new barrel arch. New plumbing and electrical went in for the kitchen, laundry and powder room, and the range hood was vented to the exterior. We also opened access to replace the home’s original Poly-B plumbing, a known failure risk in Calgary homes of this era, giving the family peace of mind behind the new finishes. Cabinetry, tile, flooring, lighting and finishing were coordinated in sequence so the main floor came together cleanly, down to the LED strips tucked under the floating shelves.
Throughout construction, the homeowners received weekly updates from their project managers, and unexpected issues were worked through together.
| Scope | Kitchen, butler’s pantry, family room, laundry, powder room |
| Timeline | July 15 – November 3, 2025 (about 16 weeks) |
| Highlights | Hidden butler’s pantry, gas fireplace feature wall, Poly-B replacement |